My external drive suddenly stopped mounting on my Mac, and Disk Utility shows com.apple.diskmanagement.disenter error 49153. I’m trying to figure out what this Mac disk mount error means and how to recover access to my files without losing data. Any help with causes or fixes would be appreciated.
I ran into this with an external SSD a while back. Disk Utility saw the drive, but it stayed gray and threw the same Error 0 message. What I figured out is pretty simple. macOS detects the hardware, then fails when it tries to mount the file system. I saw it most often after a bad unplug, after moving drives between different systems, or when the disk check process got stuck and never finished.
I’d try the fixes in this order.
1. Stop fsck if it’s hanging
This was the fix for me more than once. If the drive got pulled without ejecting, macOS often starts fsck in the background. While it runs, the disk stays locked. On some exFAT drives, and on larger disks, I’ve seen it sit there forever.
Open Terminal, then run:
sudo pkill -f fsck
Type your Mac password and press Enter. You won’t see the password while typing, which always feels wrong, but it’s normal. If fsck was the thing blocking the mount, the drive sometimes shows up right after. If it mounts read-only, copy your files off first. Don’t poke at it longer than needed.
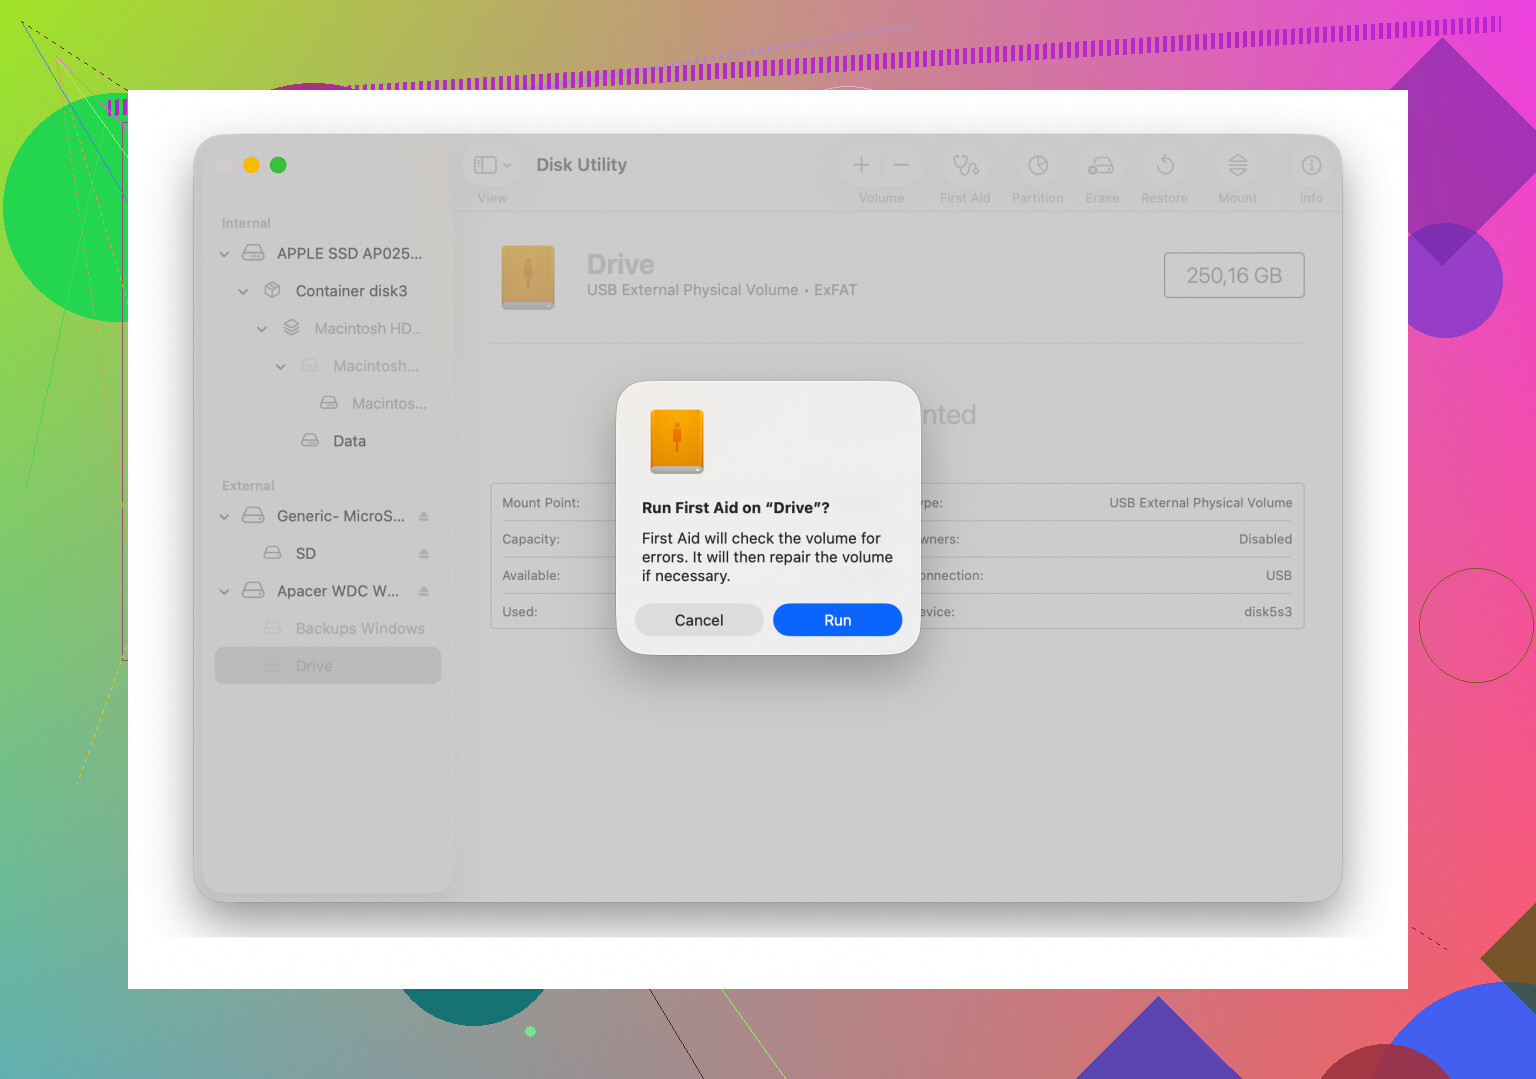
2. Run First Aid on the right items, not only the volume
This part gets missed a lot. In Disk Utility, turn on Show All Devices from the View menu. You want the full stack visible, the physical disk, any container, then the volume itself.
I’d run First Aid in this order:
physical disk
container
volume
And yes, I’d repeat it if needed. I had one drive fail the first pass, fail again, then pass on the third. No clue why. It fixed enough of the structure to mount after that.
3. Log out of your macOS account
This sounds dumb, I know. Still, I’ve seen Monterey and Ventura act weird with disk services. Logging out and back in cleared it once on my MacBook. Another time, I switched to a second user account and the drive mounted there but not in my main account. That pointed to some user-level setting or permission mess instead of dead hardware.
If it works in another account, get your files off there first and sort out the account issue later.
4. Check for a Time Machine conflict
If the disk was ever tied to Time Machine, macOS sometimes clings to it in odd ways. I had one backup disk refuse to behave until I turned off automatic backups.
Go into System Settings, open Time Machine, and disable Back Up Automatically. Then reconnect the drive and test again.
5. Stop forcing it if errors keep stacking up
This is where I changed course. If Terminal tricks do nothing and First Aid keeps throwing errors, I’d quit trying to mount it over and over. Repeated repair attempts on a damaged file system are how you make a bad day worse.
At that point I used Disk Drill. What mattered for me was this, it scanned the drive even when macOS would not mount it normally. On a failing WD_Black I had, the scan rebuilt enough of the folder tree in preview for me to pull off the important stuff first. For recovery, that felt safer than throwing more random Terminal commands at a disk I didn’t trust.
6. Wipe and reformat after your files are safe
Once the data is off, I’d erase the whole physical drive in Disk Utility and start fresh.
Format choices are straightforward:
Mac only, use APFS or Mac OS Extended (Journaled).
Mac and Windows, use exFAT.
I’d format exFAT on the Mac if the drive is mainly staying with your Mac setup. I’ve had fewer weird mount issues that way.
A couple practical notes from messing with too many external drives:
Big drives take time. A 4TB or larger disk can sit in First Aid for a long while before doing anything useful.
If the drive mounts even once, treat it like a short window and copy the important files first.
And yeah, safe eject matters. I learned that the annoying way.
Error 49153 usually means macOS sees the drive hardware, but DiskManagement refuses the mount request. The problem is often one of these:
- File system damage.
- Partition map mismatch or broken GPT.
- Read/write conflict from NTFS, old exFAT metadata, or encryption.
- USB bridge or cable failure, even when the disk still appears in Disk Utility.
I agree with part of what @mikeappsreviewer said, but I would not keep repeating repair passes if the drive has important data. One clean read attempt is fine. Repeated writes to a flaky disk are where pepole get burned.
What I’d do instead:
Open Terminal and check what macOS sees:
diskutil list
diskutil info /dev/diskX
Then try a non-writing mount test:
diskutil mount readOnly /dev/diskXsY
If read-only works, copy files first. If it fails, inspect SMART status. For many USB drives:
diskutil info /dev/diskX | grep SMART
If SMART is failing, stop there and move to recovery.
Also test the drive on another Mac, or a Windows PC if it was exFAT/NTFS. If it opens there, your issue is with macOS mount handling, not the data itself.
If the volume stays unmounted but the disk is visible, Disk Drill is a solid next step. It often reads drives macOS won’t mount and lets you recover files before you erase anything.
After recovery, erase the physical disk, not only the volume, then rebuild the partition map. This Apple thread on fixing disenter mount errors after reformatting is useful too:
Apple discussion on fixing disenter mount errors by reformatting the drive
Short version. 49153 is not a single bug. It’s a mount failure code. Focus on data recovery first, repairs second, format last.
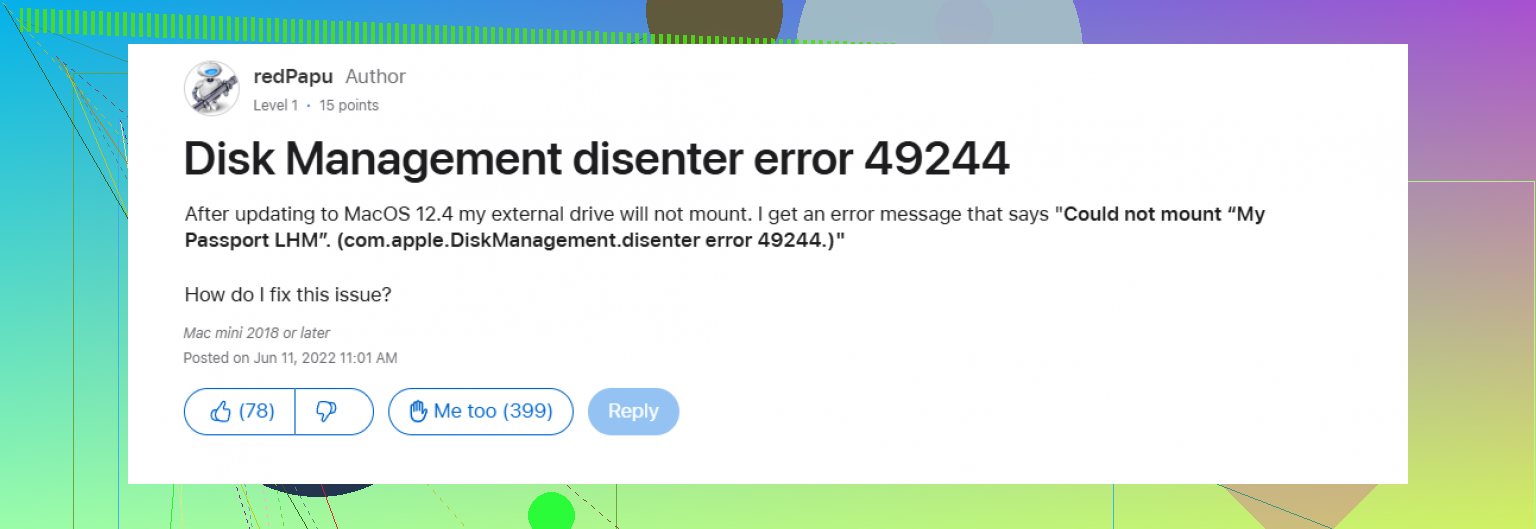
Error 49153 is basically macOS saying, “I can see the disk, but I’m not willing to mount what’s on it.” It’s not a super precise diagnosis by itself, which is why it’s annoyng. Usually the failure happens between the partition map being read and the filesystem being attached.
I mostly agree with @mikeappsreviewer and @kakeru, but I’d add one thing they didn’t really lean on: check whether the drive is being blocked by macOS security policy or stale mount points.
Try this in Terminal:
log show --last 10m | grep -i disenter
mount
ls /Volumes
If you see a ghost folder in /Volumes with the same drive name, delete the empty stale mount folder and reconnect:
sudo rmdir /Volumes/YourDriveName
Also, if this started right after a macOS update, reboot into Safe Mode once and test the drive there. Safe Mode clears some cache junk and loads fewer extensions. I’ve seen external drives mount there when they refused in a normal boot.
One place I slightly disagree with repeated “repair until it works” advice: if the data matters, don’t keep stress-testing a sketchy disk. One pass, maybe. After that, switch to recovery mode thinking. If the disk shows in Disk Utility but won’t mount, Disk Drill is worth trying because it can scan the device directly and recover files before you erase anything.
If the enclosure has a removable drive inside, another smart move is taking the bare drive out and connecting it with a different SATA-to-USB adapter. Bad enclosures fake people out all the time.
After recovery, erase the whole physical disk and recreate the partition map.
Also found a decent walkthrough here:
step-by-step fix for com.apple.diskmanagement.disenter error on Mac external drives
Short version: 49153 = mount refusal, not instant death. Test cable, enclosure, Safe Mode, stale mount points, then recover first and repair later.
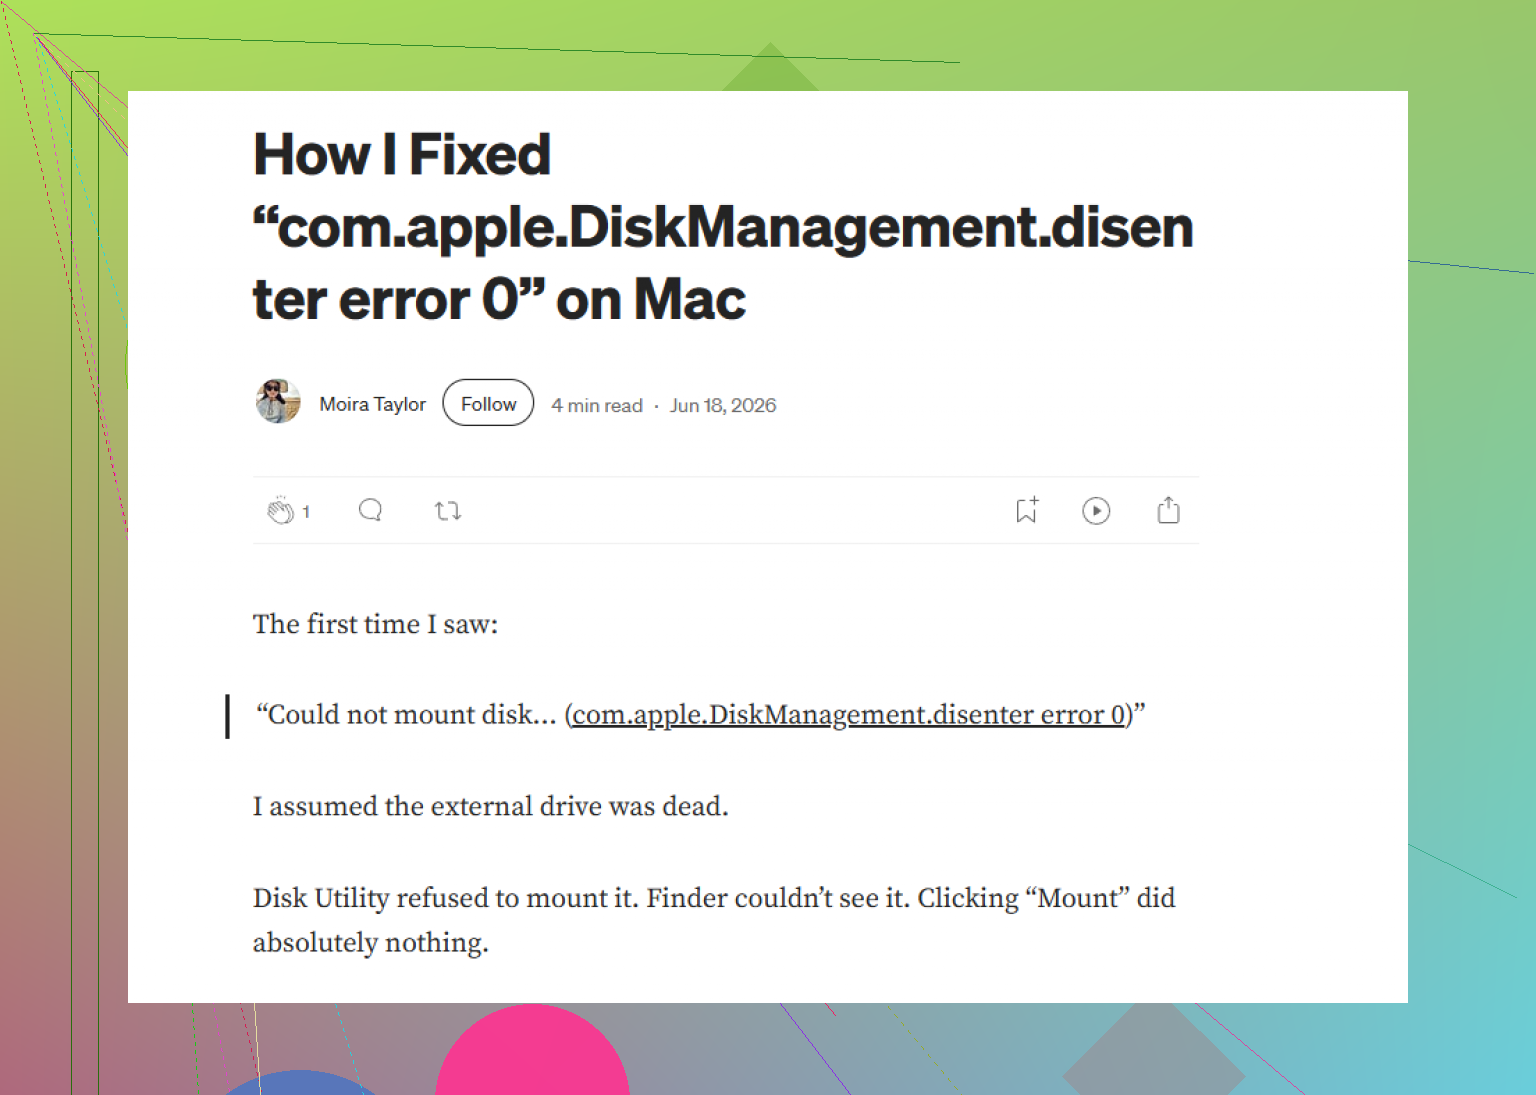
49153 is usually a mount-policy failure, not just “the filesystem is damaged.” That’s where I slightly part ways with @kakeru, @viajantedoceu, and @mikeappsreviewer. They covered the common storage causes well, but sometimes the disk is fine and Finder never gets a usable mount target.
A couple of checks I’d do that weren’t really covered:
1. See if the disk is simply hidden from Finder
In Terminal:
defaults read com.apple.finder ShowHardDrivesOnDesktop
Then in Finder settings, make sure external disks are enabled for sidebar/desktop. I’ve seen people think a mount failed when it actually mounted invisibly.
2. Force a remount through diskarbitrationd
sudo launchctl kickstart -k system/com.apple.diskarbitrationd
Then unplug/replug the drive. If Disk Arbitration got stuck, this can revive mounting without touching the disk structure.
3. Check ownership / UUID weirdness
If the volume was cloned or restored, duplicate UUIDs can confuse mount behavior:
diskutil info /dev/diskXsY | grep UUID
Not super common, but it happens.
4. Watch live system logs while connecting
log stream --predicate 'subsystem == 'com.apple.DiskArbitration'' --info
This often tells you whether the refusal is permissions, filesystem probe failure, or media I/O.
If the drive still won’t mount but appears consistently, I would skip more tinkering and go straight to Disk Drill.
Disk Drill pros:
- Can scan unmounted devices
- Good preview before recovery
- Easier than raw Terminal work
Disk Drill cons:
- Deep scans can take a long time
- Recovery naming/folder structure is not always perfect
- Paid features matter if you need full recovery
If Disk Drill sees the files, recover first. If it does not, I’d start suspecting enclosure firmware or hardware-level trouble more than macOS itself.