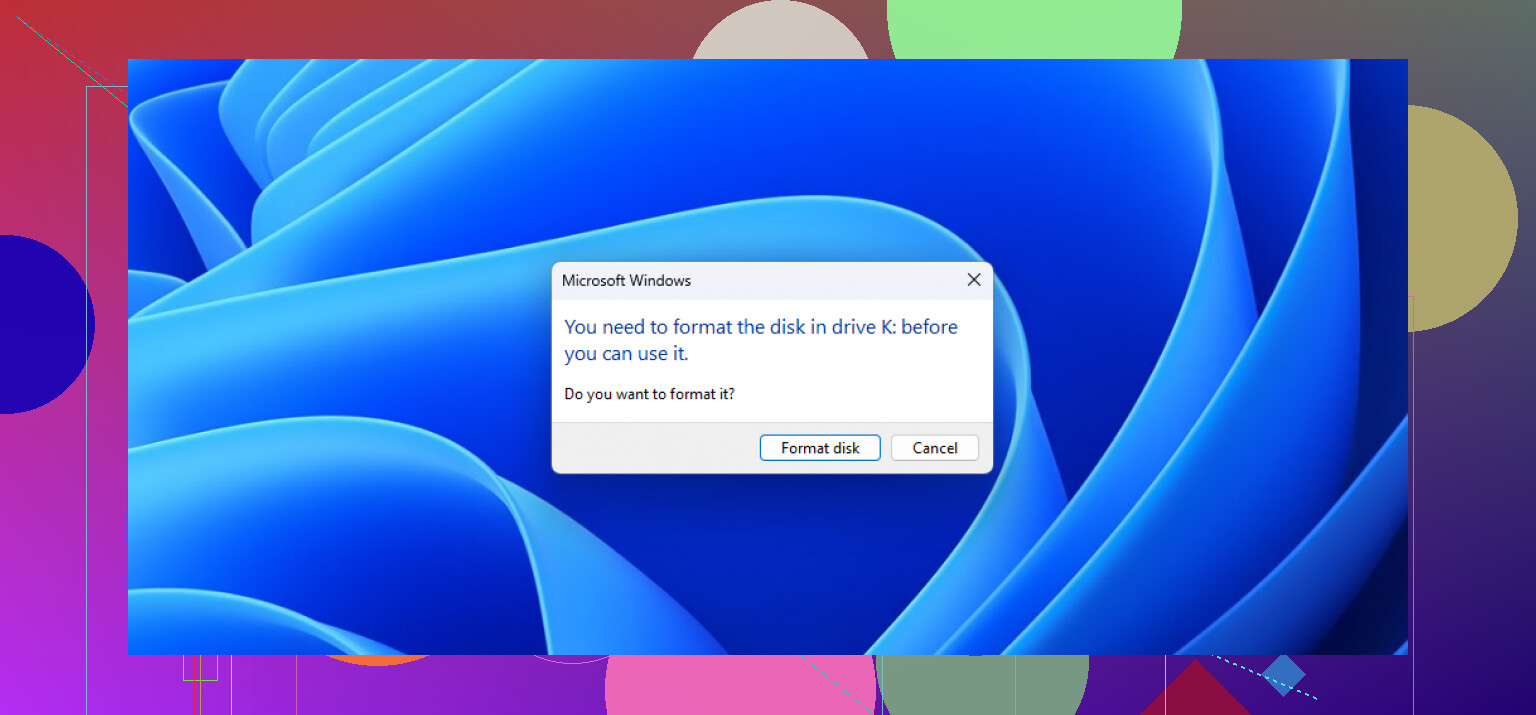
My USB drive worked normally yesterday, but today my computer says it needs to be formatted before I can use it. I have important files on it and don’t want to lose them. How can I access or recover the data without formatting the drive?
Do not format the drive yet. That Windows message usually means the file system is corrupted or unreadable, not necessarily that your photos, documents, and videos are gone. It can happen after a power loss, an unsafe disconnect, or unplugging the drive while data is still being written.
The safest order is to recover the files first, then format the USB afterward. Windows may offer formatting as the fix, but doing that now can make recovery more difficult. A recovery program such as Disk Drill can scan the drive even if Windows sees its file system as RAW or corrupted.
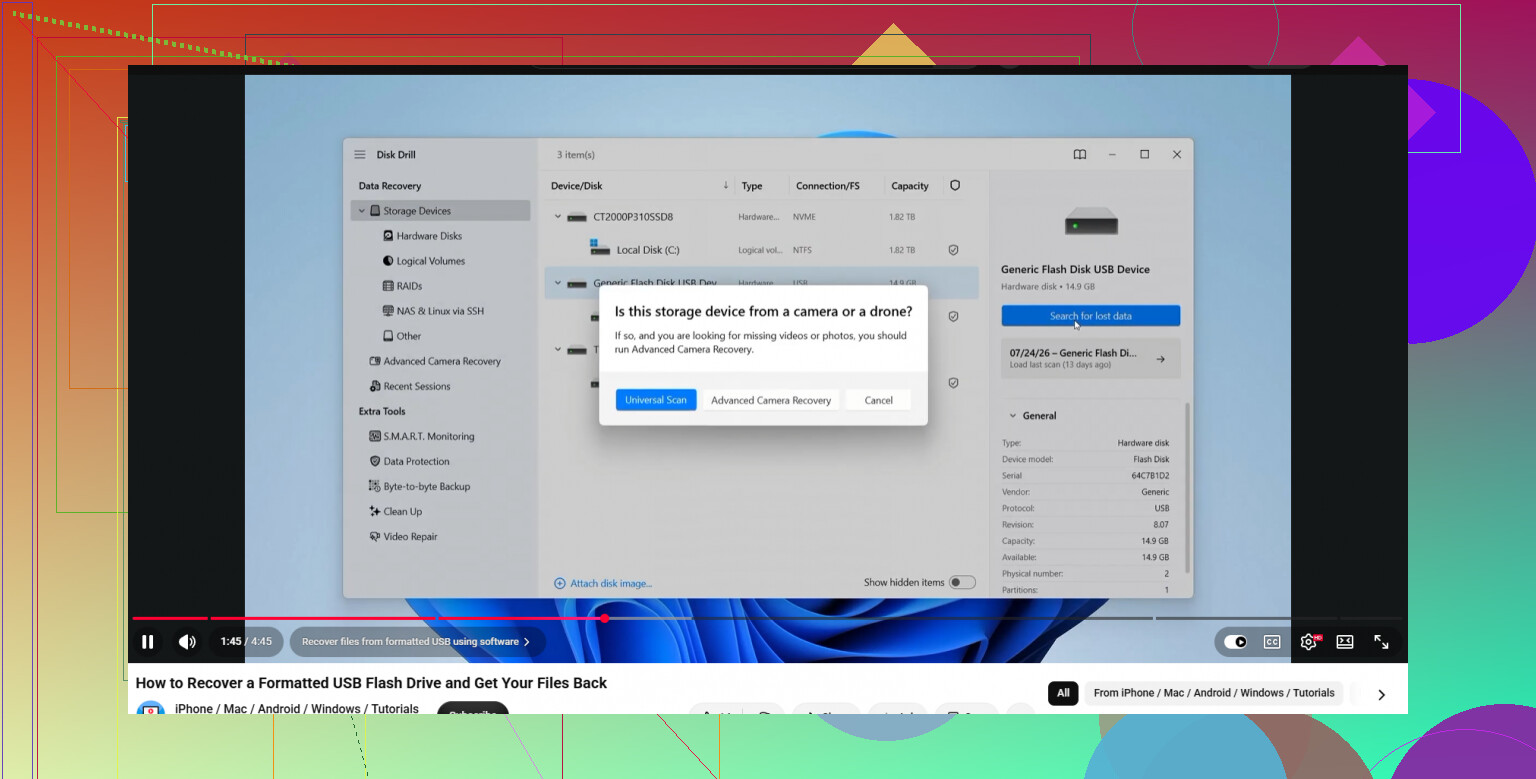
Before running the recovery scan, create a byte-to-byte backup if possible. A drive showing this error may have bad blocks or could be starting to fail. Disk Drill can make a complete disk image, which lets you scan the copy instead of repeatedly reading from the physical USB. After creating it, use the “Attach Disk Image” option and scan that image.
Select the USB drive or attached image, then click “Search for lost data.” Let the Universal Scan finish if you can. It searches for file signatures rather than relying entirely on the damaged file system, and it supports roughly 400 file types.
You can also click “Review found items” before the scan is done and browse categories such as Pictures and Documents. Use the eye icon to preview important files. If a photo or document displays correctly in the preview, that is a good sign the recovered copy will be usable.
Choose the files you want and click “Recover.” Save them somewhere else, such as your computer’s internal drive or another external disk. Never recover files back onto the same USB, since that could overwrite data you have not recovered yet.
Once everything important is safely copied, you can format the USB and create a fresh file system. exFAT is generally useful when the drive needs to work across different devices, while NTFS may make more sense if it will mainly be used with Windows.
So the basic process is simple: make an image if possible, recover to another drive, verify the files, and only then format the problem USB.
Do not run CHKDSK or any “repair” option before copying the data, since those tools can modify the damaged file system. First try a different USB port and another computer. If the drive appears with the correct capacity but shows as RAW, follow @anonymous’s image-first recovery approach. If it shows 0 bytes or “No Media,” recovery software probably cannot read it, and important files may require a professional recovery service.
A USB that stays connected and reports its normal capacity is a different case from one that repeatedly disappears, reconnects, or becomes unusually hot. In the first case, this is likely logical damage and software may recover the files. In the second, repeated scans can make matters worse, so stop powering it up and consider professional recovery if the data is valuable.
Before paying for anything, you could let TestDisk analyze the drive and see whether it can browse the old partition and copy files elsewhere. Keep it in analysis/copy mode and do not select “Write” or change the partition table. This route may preserve filenames and folder structure, while a signature-based scan often returns files with generic names and no original folders.
If TestDisk cannot see the directory tree, then the image-first approach described above makes sense, with Disk Drill or another recovery tool scanning the image. Check Disk Management first, but decline any prompt to initialize, format, or create a new volume. Save every recovered file to a different disk, and open a sample of them before doing anything to the USB itself.
The format prompt is not a reliable diagnosis. Windows may reject a damaged volume that another operating system can still read, so there is a quick, free check worth trying before buying recovery software.
Boot a Linux live USB, such as Ubuntu, without installing it. Connect the problem drive after Linux has started and see whether the file manager can open it. If the folders appear, copy the important files to a separate disk immediately. Do not delete, rename, or move anything on the USB. Ideally, mount it read-only so Linux cannot “fix” metadata or write journal information back to it. This will not work with every damaged file system, but sometimes Linux can read enough of an NTFS or exFAT volume to get the files out when Windows only offers Format.
There are two caveats. If the USB was encrypted with BitLocker or another encryption tool, signature-based recovery is the wrong first move because the contents will look like random data until the volume is unlocked. Find the recovery key or use the original encryption software. If the drive disconnects, freezes the computer, reports the wrong capacity, or gets hot, skip the Linux experiment and stop powering it up.
If Linux cannot mount it, return to the image-first recovery route already suggested. Make sure the destination has at least as much free space as the USB’s full stated capacity, not merely the amount of data you remember storing. Keep the original drive untouched until you have opened several recovered files and confirmed that the copies are usable. Only after that should formatting or CHKDSK enter the picture.
Do not save the disk image to a FAT32-formatted destination. FAT32 cannot hold a single file larger than 4 GB, so an imaging attempt may fail even when the backup drive appears to have plenty of free space. Use an NTFS or exFAT destination with free space at least equal to the USB’s full capacity.
The image-first advice is the safest route, but make sure you image the entire physical USB device, not only the damaged volume or drive letter. For example, if it is a 64 GB stick, the resulting image will usually be about 64 GB regardless of how many files were stored on it.
A simple order would be:
- Cancel the Windows format prompt.
- Connect a separate NTFS or exFAT drive with enough room.
- Create a full image of the problem USB.
- Disconnect the original USB and put it somewhere safe.
- Scan the image with recovery software or TestDisk.
- Copy recovered files to a third location if possible, never into the image or onto the original USB.
- Open several recovered photos, documents, and videos before deciding the recovery worked.
Watch the imaging process rather than repeatedly restarting it. If the USB disconnects, reports read errors continuously, slows to almost nothing, or becomes hot, stop. At that point, every extra attempt is another round of stress on a device that may be failing physically. If the image completes normally, you can experiment with recovery options on that copy without making the original situation worse.
Imaging a dying stick sounds safe on paper, but on a cheap flash drive it can be the thing that finishes it off. Those controllers don’t fail gracefully. If it worked fine yesterday and today it’s a format prompt out of nowhere, there’s a decent chance the controller or a NAND block is going, not just the file system. In that case a full byte-to-byte read of a 64GB stick is a lot of stress on hardware that’s already flaky.
So before committing to the whole image-first workflow @hyperrunner1199 laid out, I’d do one quick read attempt and watch how the drive behaves. If it reads steadily, great, image it. If it stalls, keeps dropping off, or heats up, stop and don’t keep retrying. Every reconnect is a gamble at that point.
Disk Drill is fine for the scan once you have a stable read, and its imaging option is genuinely handy here. Just don’t treat the tool as a guarantee. Software can’t recover NAND that the controller can no longer address, and no amount of scanning changes that. If the data really matters and the drive won’t stay mounted, that’s the point where a recovery service is the honest answer, not another round of scans.
If this was a suspiciously cheap “1 TB” or “2 TB” USB stick, the problem may be fake capacity rather than ordinary corruption. Once writes exceed the real storage, files and filesystem data get overwritten, so formatting or CHKDSK will not restore them. Cancel the prompt, check whether the drive reports its normal capacity and stays connected, then image it only if reads are stable. Recover from the image to another disk, but expect some newer files to be incomplete or permanently lost.
Mounting a drive read-only on Linux isn’t as automatic as @epiccraft7646 makes it sound, and that matters here. If you just boot Ubuntu and click the drive in the file manager, it auto-mounts read-write by default, and the ntfs driver will happily replay the NTFS journal the moment it mounts. That’s a write. On a volume that’s already shaky, letting the OS ‘tidy up’ the metadata is exactly what you’re trying to avoid. Read-only means you actually mount it yourself with the read-only flag from a terminal, or you flip the USB stick’s physical write-lock switch if it has one. Plugging it in and hoping isn’t read-only.
So the Linux route is real but it’s not the beginner shortcut it looks like. If you’re comfortable with a terminal, great, it’s free and can pull files out when Windows only screams Format. If you’re not, you’ll probably do more harm poking around than good.
The bit I do agree with strongly is @zeronode4729node’s point about not treating imaging as automatically safe. On a cheap controller, a full linear read is still stress, and no tool changes what the NAND can no longer address. Disk Drill’s imaging is genuinely handy for the ‘read once, scan the copy many times’ part, and that’s the right instinct, but the copy only helps if the first read completes. If the stick drops off halfway through, you’ve learned something important about the hardware, not gotten a usable image.
Here’s how I’d actually frame the decision for a normal person, cutting through the layers above:
- Drive shows correct capacity, stays put, doesn’t get warm: this is the good case. Image it once, scan the image, recover to a different disk. Done.
- Drive shows wrong capacity, disconnects, or heats up: stop. You’re not in software territory anymore. Every retry is a coin flip and you’re spending real hardware life on it.
One thing nobody flagged that trips people up: verify the recovered files by actually opening them, not by checking that they exist. A signature scan will cheerfully ‘recover’ a JPEG that’s half garbage, and it’ll sit in the folder looking fine until you double-click it. Photos and plain documents usually survive partial recovery. Big videos and databases are the ones that come back corrupt even when the filename looks perfect. Open a spread of them, including at least one large file, before you decide the recovery worked and format the stick.
And a small annoyance worth ruling out first, because it’s free and takes thirty seconds: try a different cable and a rear USB port straight into the motherboard, not a front-panel port or hub. I’ve seen ‘needs formatting’ turn out to be a flaky hub delivering junk on the data lines. Won’t fix a genuinely corrupt filesystem, but it costs nothing to eliminate before you commit to the whole imaging workflow.
For a simpler first check, try a different USB port directly on your computer, without a hub, or try another computer once. Microsoft includes both steps in its disk troubleshooting guidance.
If your folders open and reads stay steady, copy your most important files to the computer first. Copy, dont move, and save them in a seperate folder. Open several copied files to check them.
If the format prompt appears again, dismiss it. If the USB stalls or disconnects, stop rather than cycling through more computers.