I’m trying to find an AI tool that can generate casual, realistic-looking photos for social media and blog posts, not obvious AI art. Most tools either look too polished, uncanny, or cartoonish. I need something that creates natural lighting, relaxed poses, and everyday outfits that don’t scream “AI-generated.” What tools, prompts, or workflows are people using to get convincing casual AI photos for personal branding and lifestyle content?
If you’re choosing an AI casual photo generator, it’s worth knowing that not all of them are actually good for lifestyle-style images. A lot of apps focus mainly on formal headshots, so the results end up looking too “corporate”.
From what I’ve tested, two options that stand out are Eltima AI Headshot Generator and Momo AI — but they’re a bit different in how they handle casual photos.
Eltima AI Headshot Generator
App Store link:
Promo video:

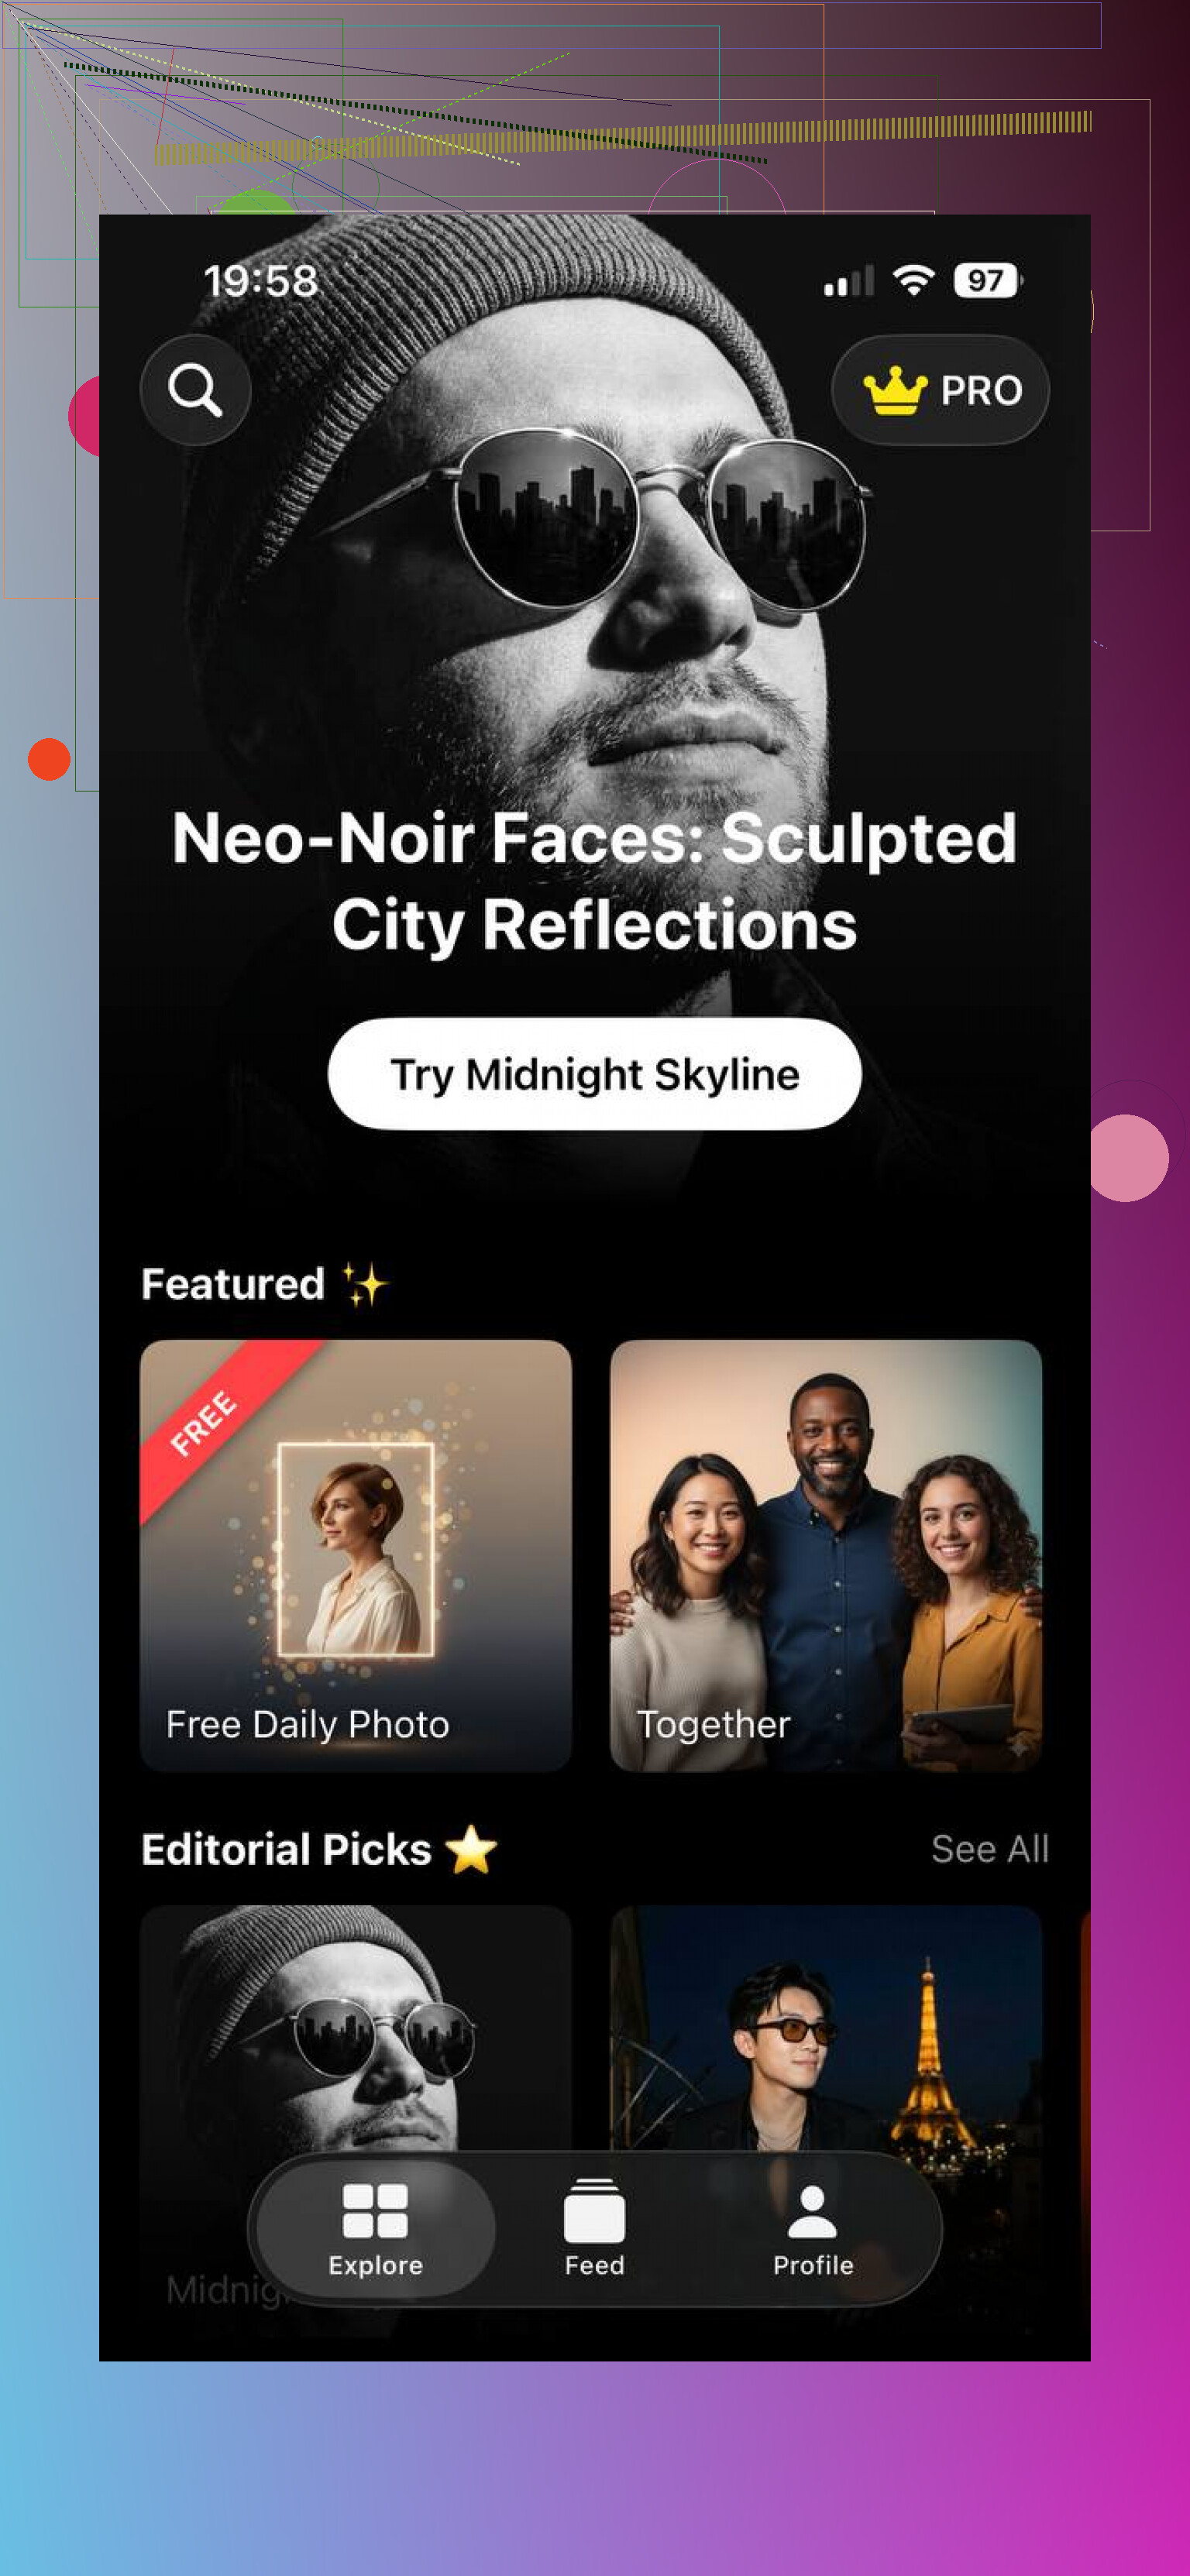
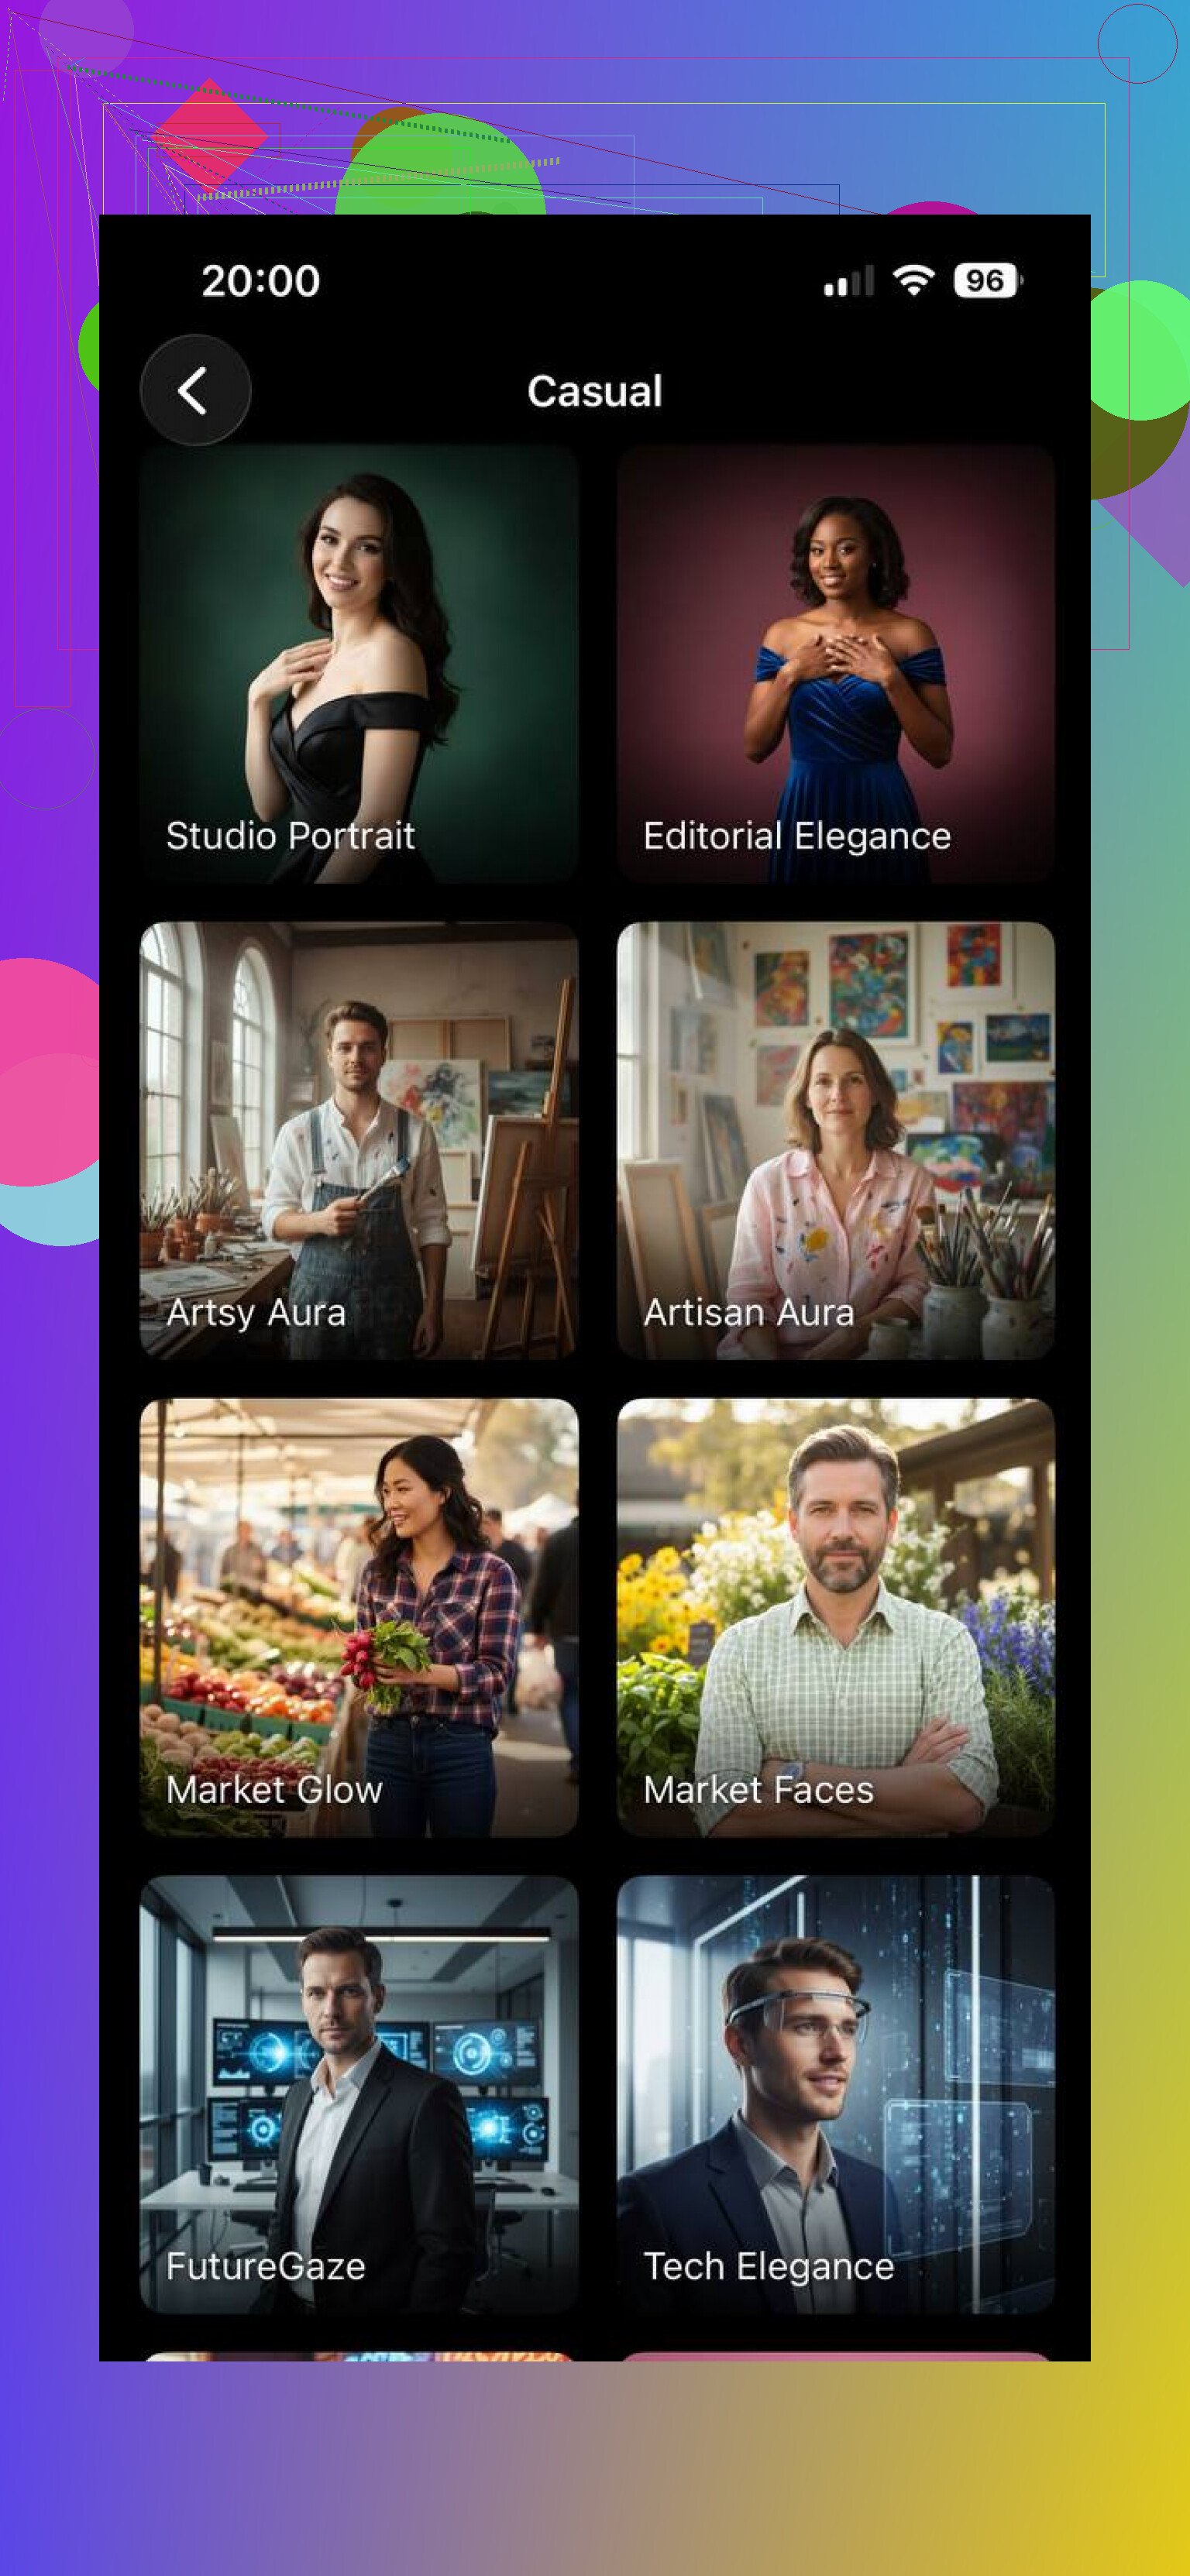
Eltima AI Headshot Generator works more like a full AI photoshoot tool rather than just a headshot generator. You upload several selfies, and it builds a model of your face to generate different styles and scenes.
What makes it strong for casual photos:
- Has dedicated casual packs, not just business styles
- Includes city and outdoor scenes, so photos don’t look staged
- Different outfits and everyday looks
- Generates a whole set of images with consistent face results
It feels closer to real-life photos you’d actually use on social media, not just profile pictures.
It is not perfect. I had a few weird hands, some slightly off proportions in some angles. But as long as I uploaded clear front and side selfies, the hit rate on usable casual shots was decent.
Momo AI
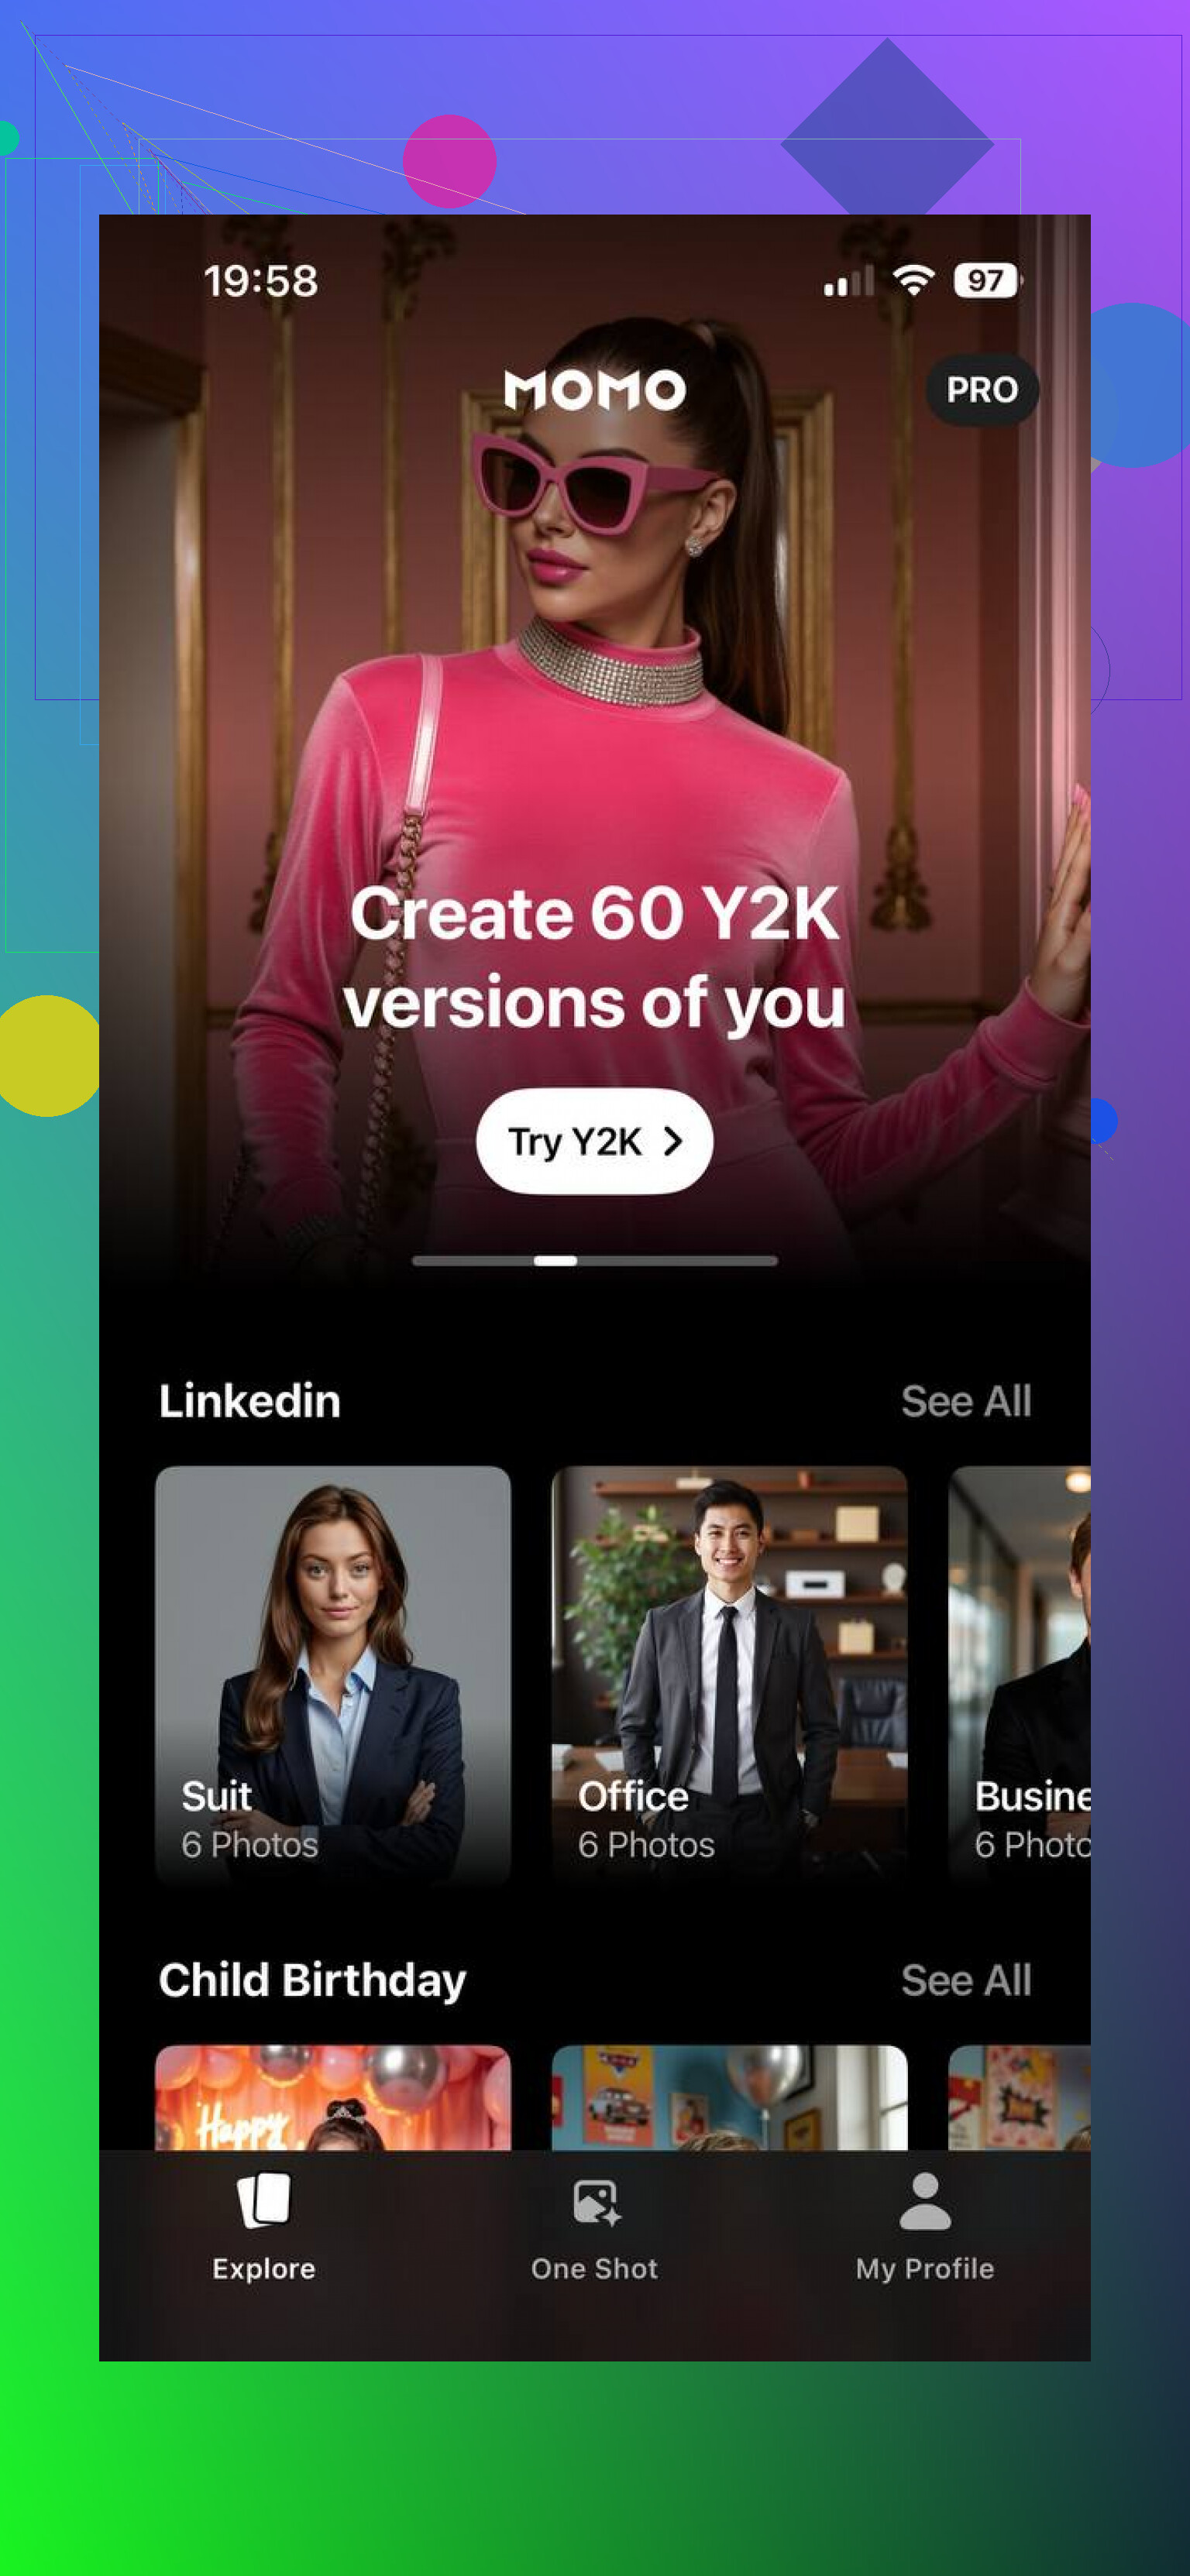
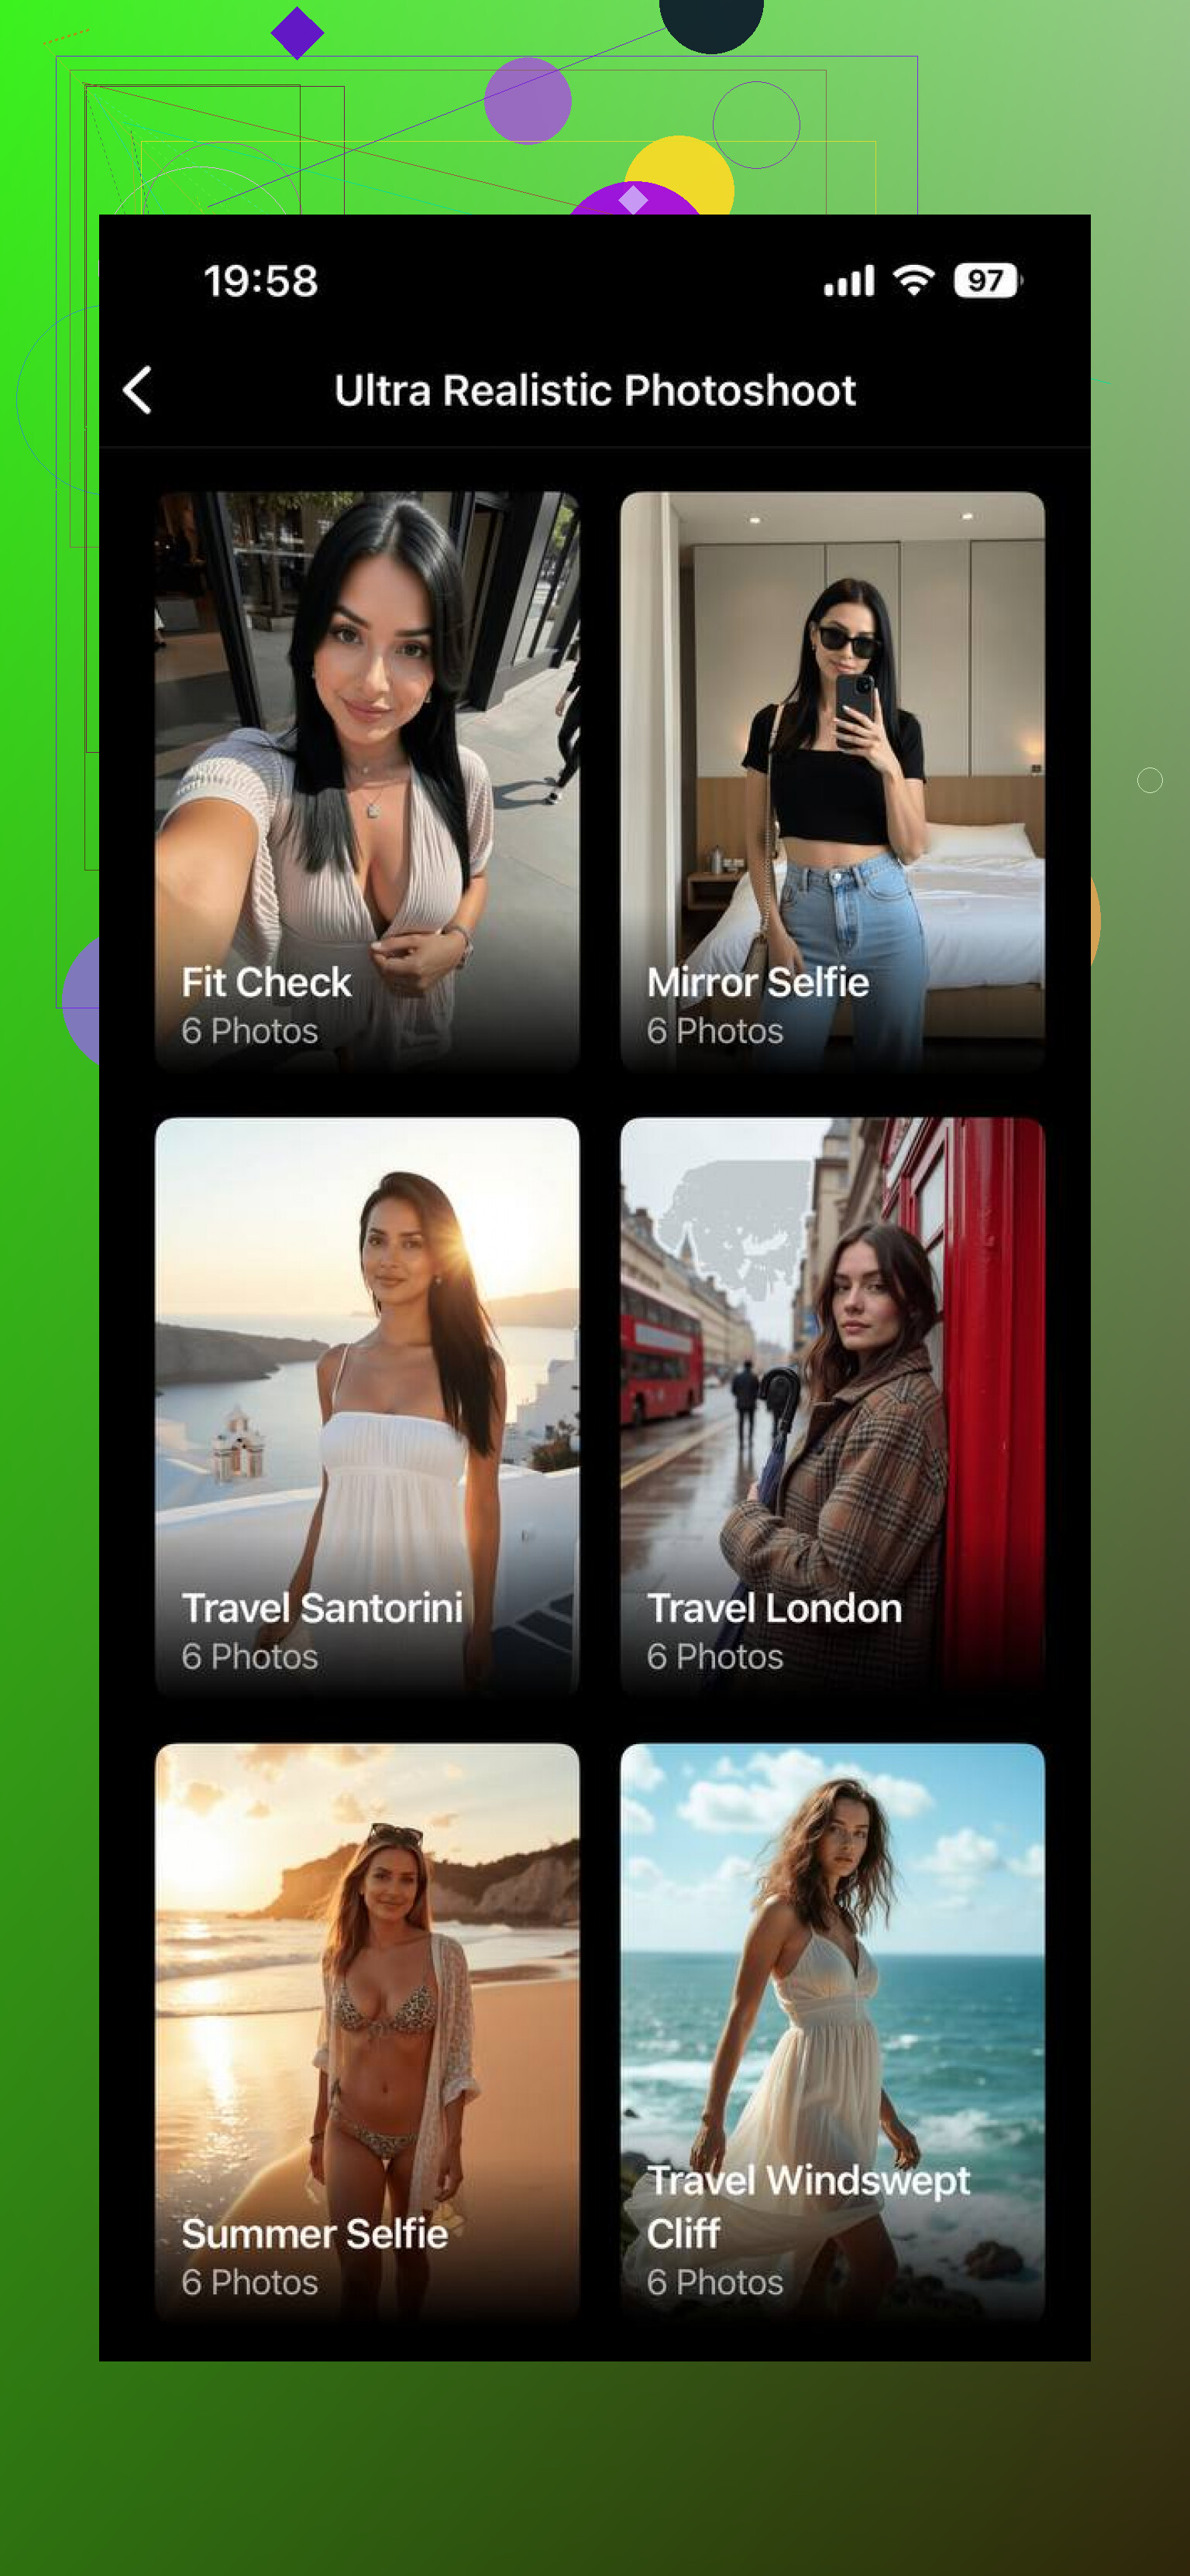
Momo is more focused on high-quality portrait generation. It’s strong in realism and detail, especially if you want clean, polished images.
What it does well:
- Styles like “ultra realistic headshot”
- Good lighting and sharp details
- Visually appealing results
But overall it’s more portrait-oriented, so even when the quality is high, the images can feel a bit too perfect or studio-like rather than casual.
Which one to use for casual photos
Momo is a solid option if your priority is clean, polished, ultra-realistic portraits. The image quality is definitely good, and the “ultra realistic headshot” style can produce sharp, professional-looking results. But in most cases, it still feels like a portrait generator first, so even the best outputs can look a bit too perfect or staged for everyday use.
Eltima AI Headshot Generator, on the other hand, feels much more versatile. It’s not just about generating a single good image — it’s about creating a set of consistent, natural-looking photos in different environments. The casual packs and city-style scenes make a noticeable difference, because the photos don’t feel like studio shots — they look more like something you’d actually post or use in real life.
9 Likes
I had the same issue as you. Everything looked like a Linkedin ad or a Marvel filter.
I agree with @mikeappsreviewer on Eltima vs Momo, but I think there are a few other angles you should try before locking in on one app.
Here is what worked best for me for casual, “this could be a real day in my life” photos:
-
Try “photo editing” style apps, not only “headshot generators”
Tools that start from your real photos and expand or re-style them usually look less fake.
Examples to look for in the store:
• AI photo enhancer or “AI photo expand” apps
• Apps that offer “AI outfit change” or “AI background change” on top of selfies
Those keep your real face and some real lighting, so outputs feel less glossy. -
Use general AI image models, but control the prompt
If you use web tools like DALL·E or Midjourney or Stable Diffusion frontends, avoid words like:
• “studio lighting”
• “cinematic”
• “highly detailed”
• “8k”
These push it into ad or CG territory.
Use stuff like:
• “phone photo”
• “shot on smartphone”
• “slightly grainy”
• “candid, mid movement”
That small change makes a big difference. -
Add imperfections on purpose
After you get the AI image, run it through:
• A normal photo app with simple filters
• Slight noise or grain
• Small blur in the background
You want it to look like any other phone photo in your feed, not the sharpest thing ever. -
Watch for hands, ears, and accessories
For casual photos, weird fingers or earrings merging into hair kill the vibe fast.
Quick checks:
• Zoom at hands, jawline, neck area
• If something looks off, throw it out, do not try to “fix” with more AI -
Stay away from “template” style packs for lifestyle
Lots of “AI selfie” apps recycle the same poses and outfits.
When you browse presets, avoid:
• Identical poses with minor outfit tweaks
• Overexposed white studio backgrounds
Look for prompts or packs that mention “street”, “indoors cafe”, “messy room”, “friends hanging out”. -
Hybrid approach for blog posts
For posts where your face is less important:
• Use stock style AI photos with no consistent identity
• Mix them with a few “you” shots from an app like Eltima or Momo
This keeps your blog from feeling like one long ad for your own face, and it makes the AI aspect less obvious.
If I had to pick a flow for what you described:
• Use Eltima or similar for sets of you in casual scenes.
• Tweak prompts toward phone photo, natural light, candid.
• Post process with a normal photo editor so everything matches the rest of your feed.
That combo gave me photos friends thought were from “a new phone camera,” not from an AI tool.
You’re not crazy, most “AI photos” still scream “I am a template, please hire me on LinkedIn.”
@mikeappsreviewer and @viajantedoceu already nailed Eltima vs Momo and some workflow tricks, so I’ll skip repeating that and come at it from a slightly different angle.
If your main goal is:
“Photos that look like a friend casually snapped you on their phone,” here are a few other paths that helped me get there:
- Use tools that force variety in pose & framing
A big tell of AI is the same mid‑torso, camera‑height, straight‑on pose. Look for tools or settings that:
- Allow full‑body, half‑body, over‑the‑shoulder, sitting, walking
- Randomize framing: slightly cut off feet, slightly off‑center face
If the app keeps putting you dead‑center, same crop every time, I usually bin it, no matter how “realistic” the face looks.
- Avoid apps that only do “beautification”
I half‑disagree a bit with going too hard on “enhancer” or “beauty filter” apps. Some of them crank smooth skin, sharpen eyes and whiten teeth to the point it looks like a K‑beauty ad. For casual shots, I’d rather:
- Start with a generator that already outputs a bit of texture
- Then lightly edit in a normal photo editor
If the app’s main pitch is “perfect skin” and “flawless selfie,” I don’t use it for lifestyle content at all.
- Look for apps or web tools that let you control camera type
One underrated setting (in web tools especially):
- “Shot on iPhone / smartphone camera / 24mm lens / 35mm lens”
- Or explicit options like “phone camera look” rather than “DSLR / cinema”
If the tool lets you indirectly pick focal length or camera type, that’s huge for realism. Longer lenses + heavy bokeh = ad or wedding shoot vibe. Slightly wider, mild blur = casual phone pic.
- Mix real & fake in the same edit pipeline
Instead of trying to make AI look real from scratch, I run both real and AI photos through the same quick edit:
- Same VSCO / Lightroom preset
- Similar crop ratios and aspect (e.g., 4:5 for IG posts)
- Slight vignette or grain, but the same across all images
When everything shares the same treatment, the AI ones blend in a lot more. Your followers notice “oh nice consistent style” instead of “why does this one look like a video game trailer.”
- Let “bad” lighting exist
A small disagreement with the strong “controlled lighting is always good” take: super perfect softbox-style lighting is exactly what makes casual photos look off. I’ll often prompt or choose:
- Cloudy outdoor light
- Harsh sunlight with some shadows on the face
- Indoors with mixed lighting (bit of warm, bit of cool)
Some shots where one side of the face is slightly darker actually feel more believable than the perfectly lit ones.
- Test for “Instagram scroll pass” quality, not zoom quality
Before deciding if a shot is usable, I do:
- Step 1: Look at it zoomed out small, like on the IG grid or Twitter feed
- Step 2: If it passes the “that looks like a normal pic” test, then I zoom for hands/ears
If you start zoomed to 200% you’ll throw away stuff that would look perfectly fine at real viewing size. You do not need print‑level perfection for social.
- Think in sets instead of single bangers
AI really shines for lifestyle when you generate multiple related shots:
- Same “you” in slightly different outfits, angles, or backgrounds that plausibly could be from the same day or week
- A walking photo, a sitting photo, a laughing photo, a “looking away” photo
A single AI pic can feel sus. A set of 6 that form a mini‑story on your blog or IG carousel reads more like a real day documented.
- Have a “no uncanny, no debate” rule
If anything feels off to you at gut level, I’d just toss it:
- Eyes that feel too intense
- Slightly plastic skin
- Weird micro‑expression
Trying to rescue it with more filters almost never works. It’s faster to regenerate and move on.
If I were you, I’d:
- Use something like Gio or a similar face‑training tool for identity consistency
- Dial back any “studio / professional / cinematic” language if you can control prompts
- Run the keepers through the same basic phone‑style edit you use on real shots
- Curate in sets that tell little “day in the life” stories rather than one ultra‑perfect portrait
Once you mix those into your existing real photos, most people won’t spot which ones are AI unless they’re deliberately hunting for artifacts.