I imported a large batch of photos to my iPhone, and they’re already backed up, but I can’t figure out the safest way to remove them without losing anything. My storage is almost full, and I need help deleting imported photos from my iPhone while making sure the backup stays intact.
If your iPhone is packed with photos after you already copied them to a computer, yeah, I ran into the same mess. It looks simple until you try to remove stuff and realize Apple mixed backup behavior with sync behavior, then hid the one button you need.
The first thing I learned, the hard way, is this.
Sync and backup are not the same thing.
If iCloud Photos is on, your iPhone is not acting like a separate stash of files. It is tied to iCloud, and changes move across devices. Delete a photo on the phone, and iCloud treats it as a real deletion. Same for your iPad, Mac, whatever else is linked. So before you start wiping photos from the phone, make sure your copies are sitting somewhere outside that sync loop, or turn off iCloud Photos first if your plan is local cleanup.
On Mac, Apple wants you to use Photos. Plug the phone in with USB, import, then look for the checkbox in the corner called ‘Delete items after import.’ Nice idea. Mine disappeared. From what I saw, this often happens when iCloud Photos is enabled on the iPhone.
What worked better for me was Image Capture, which is already on the Mac. Open Applications, launch Image Capture, plug in the iPhone, then pick it from the Devices list. You get a plain list of photos and videos. No cute layout, no weird photo library logic. If the files are already copied over, select them and hit the red delete icon. It felt closer to using a normal storage device, which I preffered.
On Windows, it is less polished but more direct. Connect the iPhone, open This PC, find the phone, then go into the DCIM folder. You can remove photos there. Sometimes Windows throws errors like device busy or unreachable. When mine did this, changing the iPhone setting for photo transfer helped. Go to Settings, then Camera, then ‘Transfer to Mac or PC,’ and switch it to ‘Keep Originals.’
If you want to clean things up from the phone itself, check the Photos app and open the Albums tab. Scroll down to Utilities and look for Imports. That album groups media brought onto the device, so bulk deleting is less painful there than in the full library.
One catch. Deleting there does not free the space right away.
The files go into Recently Deleted and sit there for 30 days. If you need storage back now, open Recently Deleted and remove them again. If you skip this part, the phone still acts full, which is maddening.
I started messing with all this because my iPhone 13 got slow in a way people often blame on age. In my case, storage was the problem. Once I got close to full, the whole phone dragged. Camera pauses. Keyboard lag. App switching felt off. It was like the system had no room left to breathe.
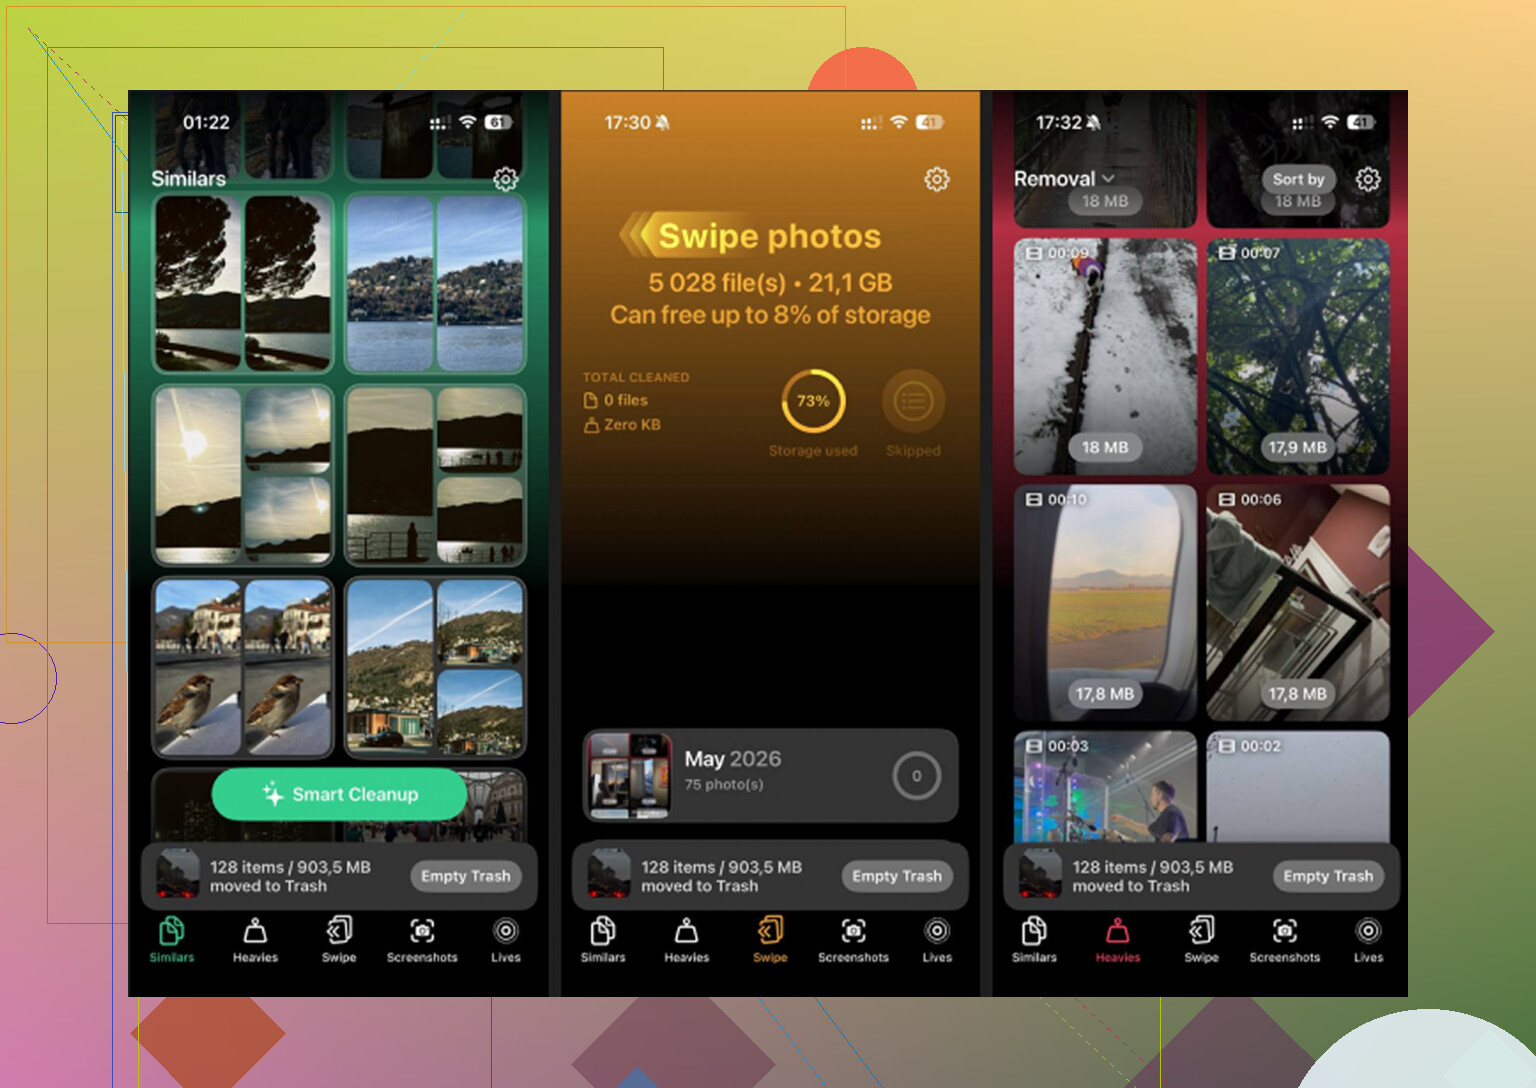
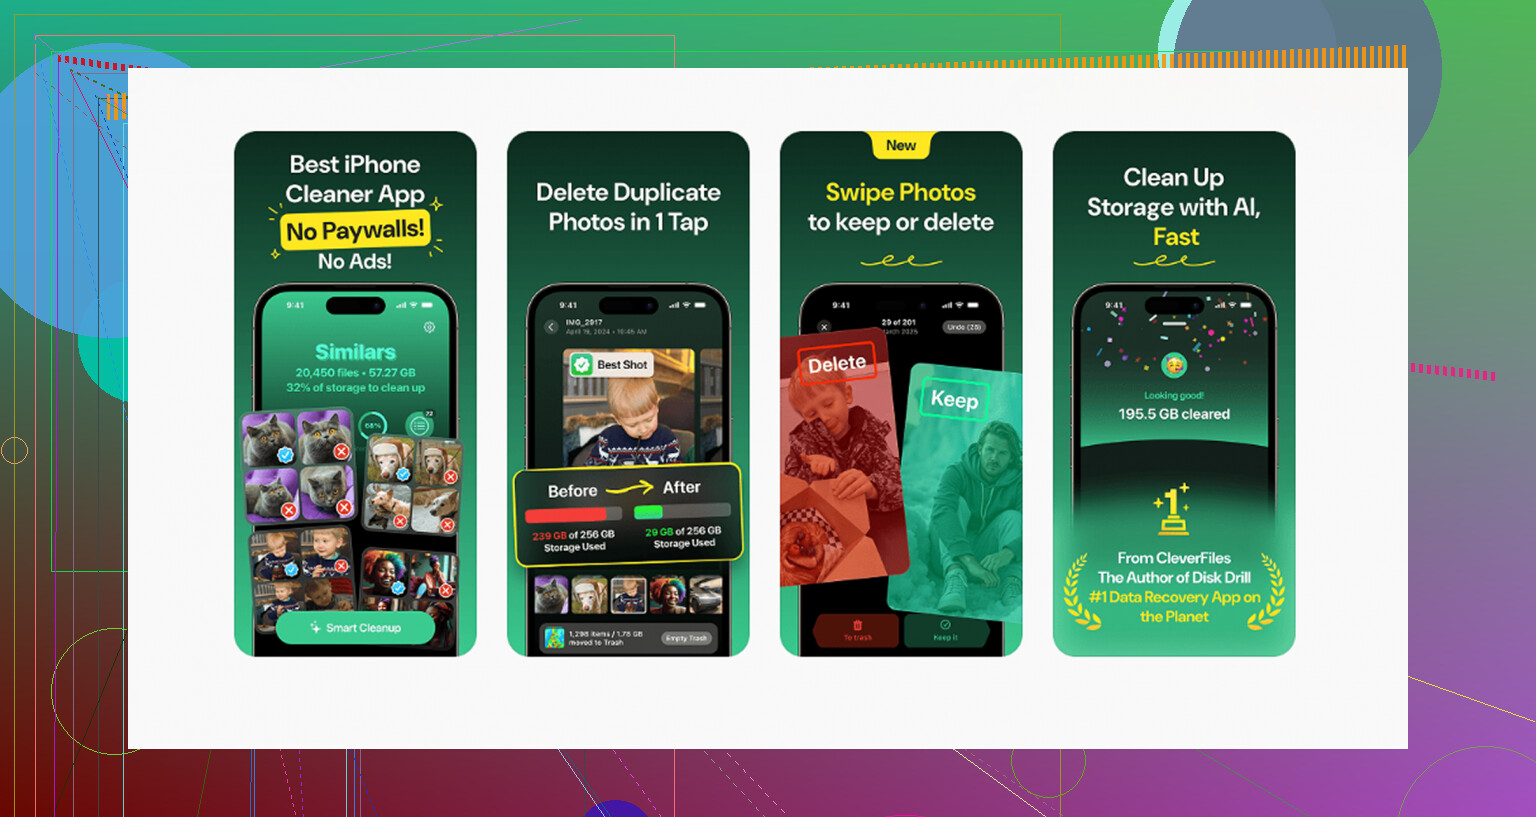
After moving the big stuff off manually, I still had loads of useless clutter. Near-duplicate shots. Screenshots from stuff I forgot about two hours later. Random clips. I used Clever Cleaner for the second pass, mostly because I was tired of sorting junk by hand.
What stood out to me was how it sorted large files first. The Heavies tab made it easy to spot giant 4K videos eating chunks of storage. The Similars section grouped almost identical photos, which helped with those burst-like runs where you keep eight versions of the same shot for no reason. It also shows file sizes before deletion, so you know what you’re getting back.
I liked one other part. It does the processing on the phone instead of sending your library off somewhere else. I cleared around 15GB from leftovers and duplicate junk, and my phone stopped feeling bogged down after taht.
The short version.
Move or verify your photos first.
Check whether iCloud Photos is on.
Use Image Capture on Mac if Photos hides the delete option.
Use DCIM on Windows if Explorer lets you.
Empty Recently Deleted when you finish.
That last step matters more than it should.
5 Likes
First, verify where the backup lives. If the photos only sit in iCloud Photos, deleting from your iPhone removes them from iCloud too. I disagree a bit with @mikeappsreviewer on one point, I would not start with cable methods unless the Photos app fails you. Start with the source of the import.
If you imported from a Mac or PC through Finder, iTunes, or Apple Devices, those photos were often synced albums. You do not delete them on the iPhone. You remove the sync.
Mac or PC steps:
- Connect iPhone.
- Open Finder on Mac, or Apple Devices/iTunes on Windows.
- Select your iPhone, then Photos.
- Uncheck “Sync Photos” or untick the album folders you imported.
- Apply sync.
This removes the imported batch from the phone safely, assuming your originals are already saved elsewhere. It is the cleanest route for synced photos.
If the photos were saved into your library as normal images, go to Photos, Library or Imports album, select, delete, then empty Recently Deleted. Check iPhone Storage after 5 to 10 mins. iOS sometiems lags before showing free space.
If your storage is packed with duplicates and old videos after this, Clever Cleaner helps with cleanup. This review explains it well: see how Clever Cleaner clears duplicate photos and frees iPhone storage.
One last thing. If “Optimize iPhone Storage” is on, space numbers look weird for a bit. Wait, then recheck.
I’d actually start with one check that neither @mikeappsreviewer nor @boswandelaar really emphasized enough: figure out whether those photos are read-only synced items or regular library items by trying to edit one. If you open a photo and it won’t let you fully manage it the normal way, that usually tells you a lot about how it got there.
Also, don’t trust the word “backed up” unless you verified the files open somewhere else. A backup that exists only inside Apple’s ecosystem can get messy fast. I always tell people to spot-check 20 to 30 photos and a few videos from the backup drive/cloud before deleting anyhting.
Another thing people skip: go to Settings > General > iPhone Storage > Photos and wait a minute. iOS recalculates weirdly when storage is slammed. Sometimes the phone looks full, then drops after indexing finishes.
If the imported batch is already safe elsewhere, the easiest low-risk move is to use the Search tab in Photos with dates, locations, or file types to isolate that batch faster instead of scrolling forever. You can also sort out giant videos first because they free the most space quickest. That’s usually the better play vs deleting 900 small pics.
After that, if your library is still bloated, Clever Cleaner is worth a pass for duplicates, similar shots, and heavy videos. It’s more useful for cleanup after the imported set is handled, not before. For more real-world feedback, this thread on how people free up iPhone storage with Clever Cleaner is a decent read.
Biggest rule: verify backup first, then delete, then re-check storage later because iOS can be slow and annoyng about updating the number.
One angle I’d add to what @boswandelaar, @andarilhonoturno, and @mikeappsreviewer said: check where the photos physically live before deleting anything. On iPhone, imported images can end up in different buckets, and that changes what “safe to delete” means.
What I would do first:
- Open a few of those photos
- Tap info
- See if they show up as part of your normal library, synced content, or iCloud-managed items
- Confirm the same files actually open from your backup location, not just that a backup job “completed”
I slightly disagree with starting from bulk deletion right away. If storage is critically low, delete the largest videos from that imported batch first. You get space back faster than removing hundreds of small photos.
Also worth checking:
- Files app
- Photos in Messages attachments
- Hidden album
- Recently Deleted
- Shared Library, if enabled
A lot of people delete imports but forget that videos, duplicates, and screenshots are the real storage hogs afterward. That’s where Clever Cleaner can help.
Pros of Clever Cleaner
- Good for duplicates and similar shots
- Helps surface large media fast
- Easier than manual hunting
Cons
- Not a replacement for verifying backups
- Similar-photo detection still needs human review
- Less useful if your issue is purely synced albums from computer
So: verify backup, remove the heaviest items first, clear Recently Deleted, then use Clever Cleaner only for leftover junk. That’s usually the least risky order.