My hard drive was working fine as NTFS, but after a restart it now shows up as RAW and I can’t open it without being asked to format it. It has important files on it, so I’m looking for the safest way to recover the data and repair the drive without making things worse. Any help with RAW to NTFS recovery steps would really help.
When an NTFS drive flips to RAW, I don’t treat it like instant data loss. Most of the time, the drive didn’t turn into something new. Windows stopped reading the file system. I’ve seen this after a power cut, after pulling an external drive too fast, after a copy job froze Windows, and on drives with bad sectors or flaky USB hardware. Sometimes the disk is fine and the enclosure or cable is the dumb part.
What matters first, RAW does not mean your files are gone. A lot of the time they’re still sitting there, but the NTFS structure got damaged badly enough for Windows to shrug and give up.
If you want the safest path, recover first. Format later.
- Don’t format the drive, even if Windows nags you.
- Try the drive on another PC, another USB port, or a different cable. I’ve had “RAW” drives turn out to be nothing more than a bad adapter.
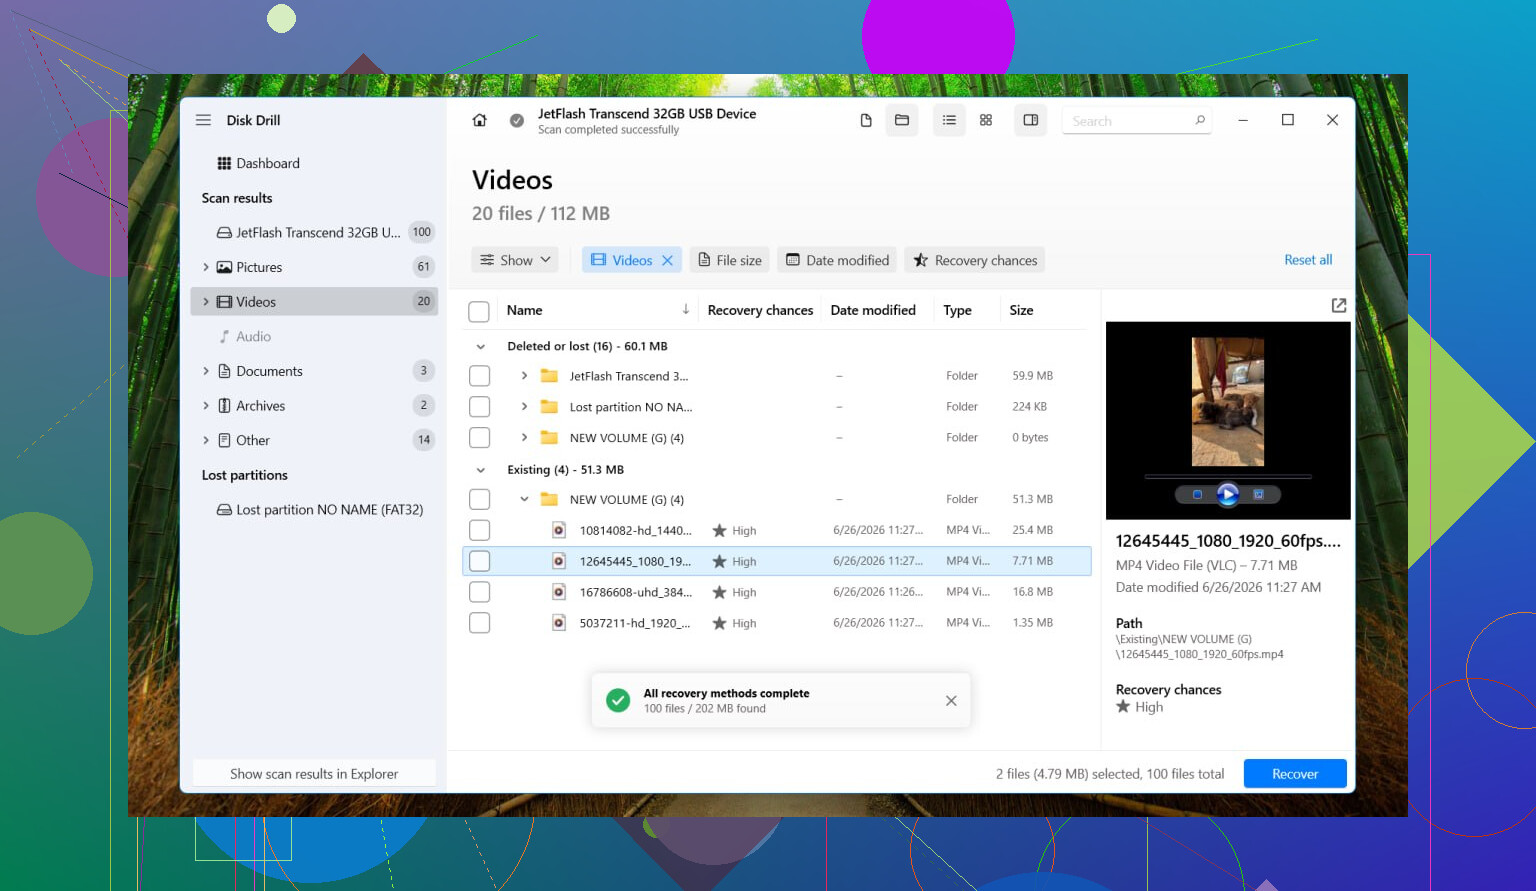
- If it still shows as RAW, recover the files with software before doing repair stuff. I’d use Disk Drill. It handles RAW partitions well and the layout is easy enough without making you fight the app.
- If the drive looks unstable, random disconnects, weird sounds, crawling speeds, make an image first. In Disk Drill, open Extra Tools > Byte-to-byte Backup. Save the image to another drive. Then mount the image and scan it instead of hammering the original disk.
- Run a Universal Scan. Check the preview. Recover files to a different drive. Do not write them back onto the RAW one.
- After you’ve confirmed the recovered files open normally, format the RAW partition back to NTFS with File Explorer, Disk Management, or DiskPart.
- Move your recovered data back after the format is done.
A few things people mix up all the time:
A RAW result does not prove the hardware is dead. I’ve seen plenty of drives go RAW from file system corruption alone.
If SMART says Good, nice, but don’t read too much into it. SMART says something about hardware condition. It does not confirm the NTFS structure is healthy.
I would not run CHKDSK or TestDisk before pulling off important files. CHKDSK usually won’t even run on a RAW volume. TestDisk sometimes helps, sure, but it writes changes to disk structures. I wouldn’t gamble on repair-first if the data matters.
So no, there isn’t some clean in-place RAW-to-NTFS switch where your files stay put. What you do get, if you do this in the right order, is your data back first and the drive returned to NTFS after. That’s the part I’d focus on.
Skip the format prompt. Your first job is to figure out if this is file system damage or failing hardware.
I agree with @mikeappsreviewer on one big point, recover data first. Where I differ a bit is this. Before any deep scan, check the drive’s health and connection path. A RAW volume from a bad USB-SATA bridge is common. I’ve seen drives show RAW in one enclosure and mount fine in another. Cheap adapters do dumb stuff.
Do this in order.
-
Check SMART with CrystalDiskInfo or smartctl.
If you see reallocated sectors, pending sectors, CRC errors climbing, or temps out of line, stop poking the disk. Clone it first. -
If it is an external drive, remove the USB layer if possble.
Plug a SATA drive straight into a desktop or a known good dock. This rules out the enclosure. -
Look at Disk Management.
If the partition size is correct but file system says RAW, the partition table might still be fine and only NTFS metadata got hit.
If the size is wrong or shows unallocated chunks, the damage is wider. -
If the drive is stable, recover files to another disk.
Disk Drill is a solid pick here because it handles RAW drives well and previews files before recovery. That matters. Preview tells you if the data is intact before you waste hours. -
If the file list from a normal scan looks messy, switch tactics.
Use a full scan or scan the cloned image. Better hit rate, less stress on the source drive.
One thing I would not do early is force repair tools on the original disk. People love to throw commands at the problem, then wonder why the folder tree got worse. Repair writes. Recovery reads. Big differnce.
After your files are safe, wipe the partition, create it again, and format NTFS. Then test the drive. If SMART looks bad, retire it. No second chances for a disk with your important stuff.
Also, this thread is worth reading if you want a clean breakdown of how to convert a RAW drive to NTFS without losing data.
RAW is usually Windows saying “I can’t trust this file system anymore,” not “your files evaporated.” So I mostly agree with @mikeappsreviewer and @shizuka on the recover-first part, but I’m a little less absolute about avoiding all diagnostics. Reading SMART and checking the partition map is low risk. Writing fixes is the risky part.
What I’d do:
- Stop using the drive. No format, no copy tests, no “let me see if it opens this time.”
- Check Disk Management and see if the capacity looks normal. If the size is wildly wrong, that points more toward hardware/enclosure weirdness than just NTFS corruption.
- If it’s external, test a different cable/enclosure/port. RAW from flaky USB bridges is annoyingly common.
- If the drive is clicking, disconnecting, or freezing Explorer, clone/image it first. That part matters more than arguing over tools.
- Then recover data to another drive. Disk Drill is one of the better options for RAW partition recovery because it can scan a disk image too, which is safer if the original drive is sketchy.
Where I disagree a bit with the “just format after” advice: don’t trust the disk again too fast. If a healthy NTFS volume suddenly became RAW after a simple restart, I’d want to know why. File system corruption can be random, sure, but it can also be the first warning shot from a dying drive or bad USB controller. Reformatting without testing is how people end up doing this twice.
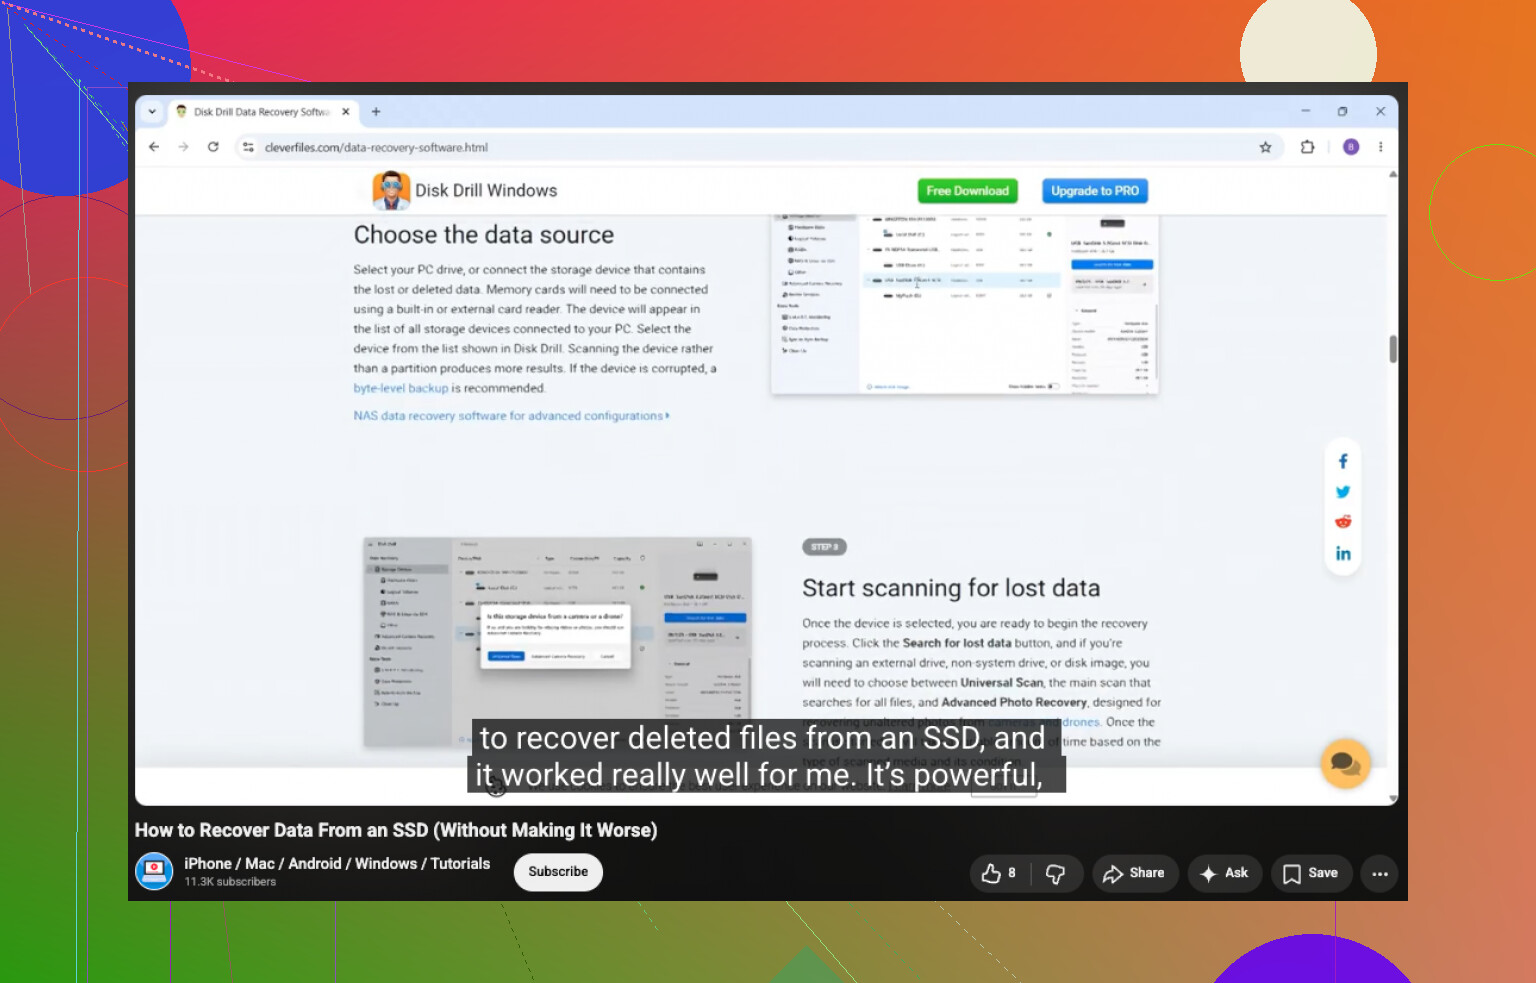
Also, if you want extra background, this is a decent watch on how to recover data from an SSD safely.
Short version: recover first, repair later, trust the drive last. That order saves data.
One extra angle I’d add to what @shizuka, @viaggiatoresolare, and @mikeappsreviewer already covered: check whether the drive is using BitLocker or any vendor encryption layer before you do anything clever. I’ve seen Windows label a volume RAW simply because the unlock metadata got confused or the enclosure doing hardware encryption changed. If the drive used to ask for a password, or came from a branded external unit, keep that in mind.
Also, I’m slightly less anti-TestDisk than some people here, but only in one case: when the partition entry itself is obviously wrong and you are working on a clone, not the original. On the original disk, I still would not risk writes.
My order would be:
- Check if the volume is encrypted or tied to its original enclosure.
- Verify whether Windows sees the correct partition offset and size.
- If the drive is important, make a sector-level clone/image before experimenting.
- Recover data from the clone, not the source, if possible.
For recovery software, Disk Drill is reasonable for RAW situations.
Pros:
- good preview support
- can scan disk images
- simple enough for non-experts
- works well when the file system is unreadable
Cons:
- deep scans can take a long time
- recovered names/folders may be messy if NTFS metadata is badly damaged
- not every feature is free
After recovery, do not just reformat and trust it. Run a full surface test and watch SMART over time. If RAW happened once for no clear reason, I’d demote that drive to non-critical use or retire it. The safest fix is often not fixing the old setup, but getting your files off and replacing the suspect link in the chain.