I need to take professional headshots with my iPhone for my LinkedIn profile and job applications, but the photos I took look blurry, poorly lit, and not very polished. I don’t have the budget for a photographer right now, so I’m looking for simple tips on iPhone camera settings, lighting, angles, and editing apps that can help me get a clean, professional headshot at home.
I tried this with my iPhone after putting off a studio shoot, and the short version is yes, it works if you keep the setup simple and stop fighting the phone.
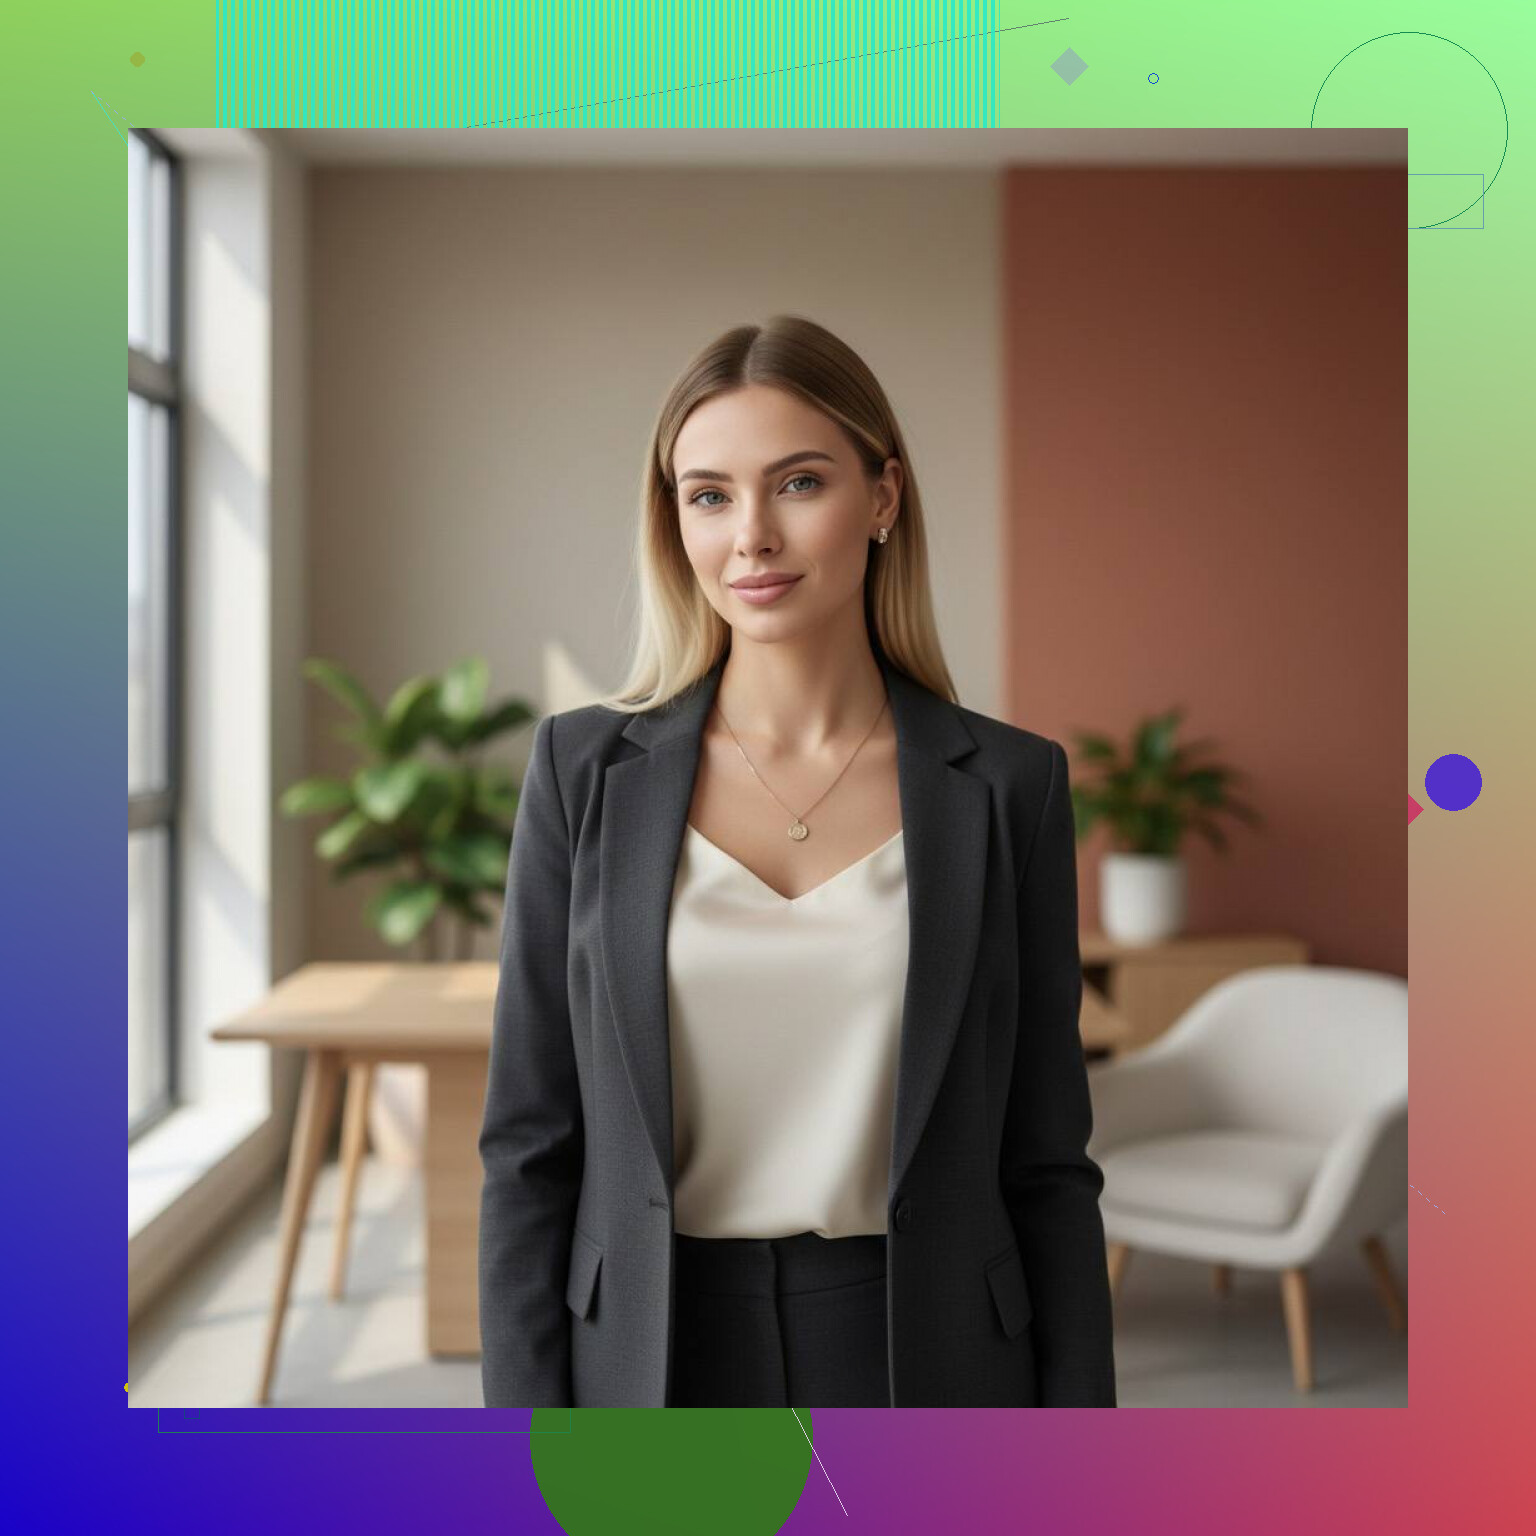
What mattered most for me
1. Light first, everything else second
Window light did most of the heavy lifting. I stood facing the window, not sideways, and the photo looked cleaner right away. Overhead room lights made my face look tired and added weird shadows under my eyes. Daytime worked best, especially when the light was soft and not blasting in.
2. Background needs to stop stealing attention
I got better results against a plain wall and once with a closed curtain. Busy rooms looked bad fast. Shelves, door frames, random stuff on a desk, all of it pulled focus. If you want a headshot people take seriously, keep the background quiet.
3. Portrait Mode helps more than I expected
On newer iPhones, Portrait Mode gives you that soft blur behind the subject. It is not perfect every time, but for headshots it usually does the job. After shooting, I tweaked the depth effect a bit and tried one of the lighting options. Studio Light looked decent on a few shots, not all of them.
4. Camera height changes the whole feel
I made the mistake of holding the phone too low at first. Bad look. Eye level worked best. I framed it from around the chest up, sometimes shoulders up, and left a bit of space above my head so it did not feel cramped.
5. Keep the phone still
This part is boring, but it fixed a lot. A tripod helped. Before that, I leaned the phone against a stack of books and used the timer. Less shake, less fussing, sharper result.
6. AI cleanup is useful if you need something polished fast
If you do not want to mess with a full photo session, I had decent results with Eltima AI Headshot Generator on iPhone.
I uploaded a few selfies and got back headshots in different looks, office-style, business profile type shots, and some more relaxed ones. For LinkedIn, staff pages, or a personal site, it saves time. I would still feed it decent source photos. Garbage in, garbage out, same as anything else.
https://www.youtube.com/watch?v=wjPmMi6FGIw
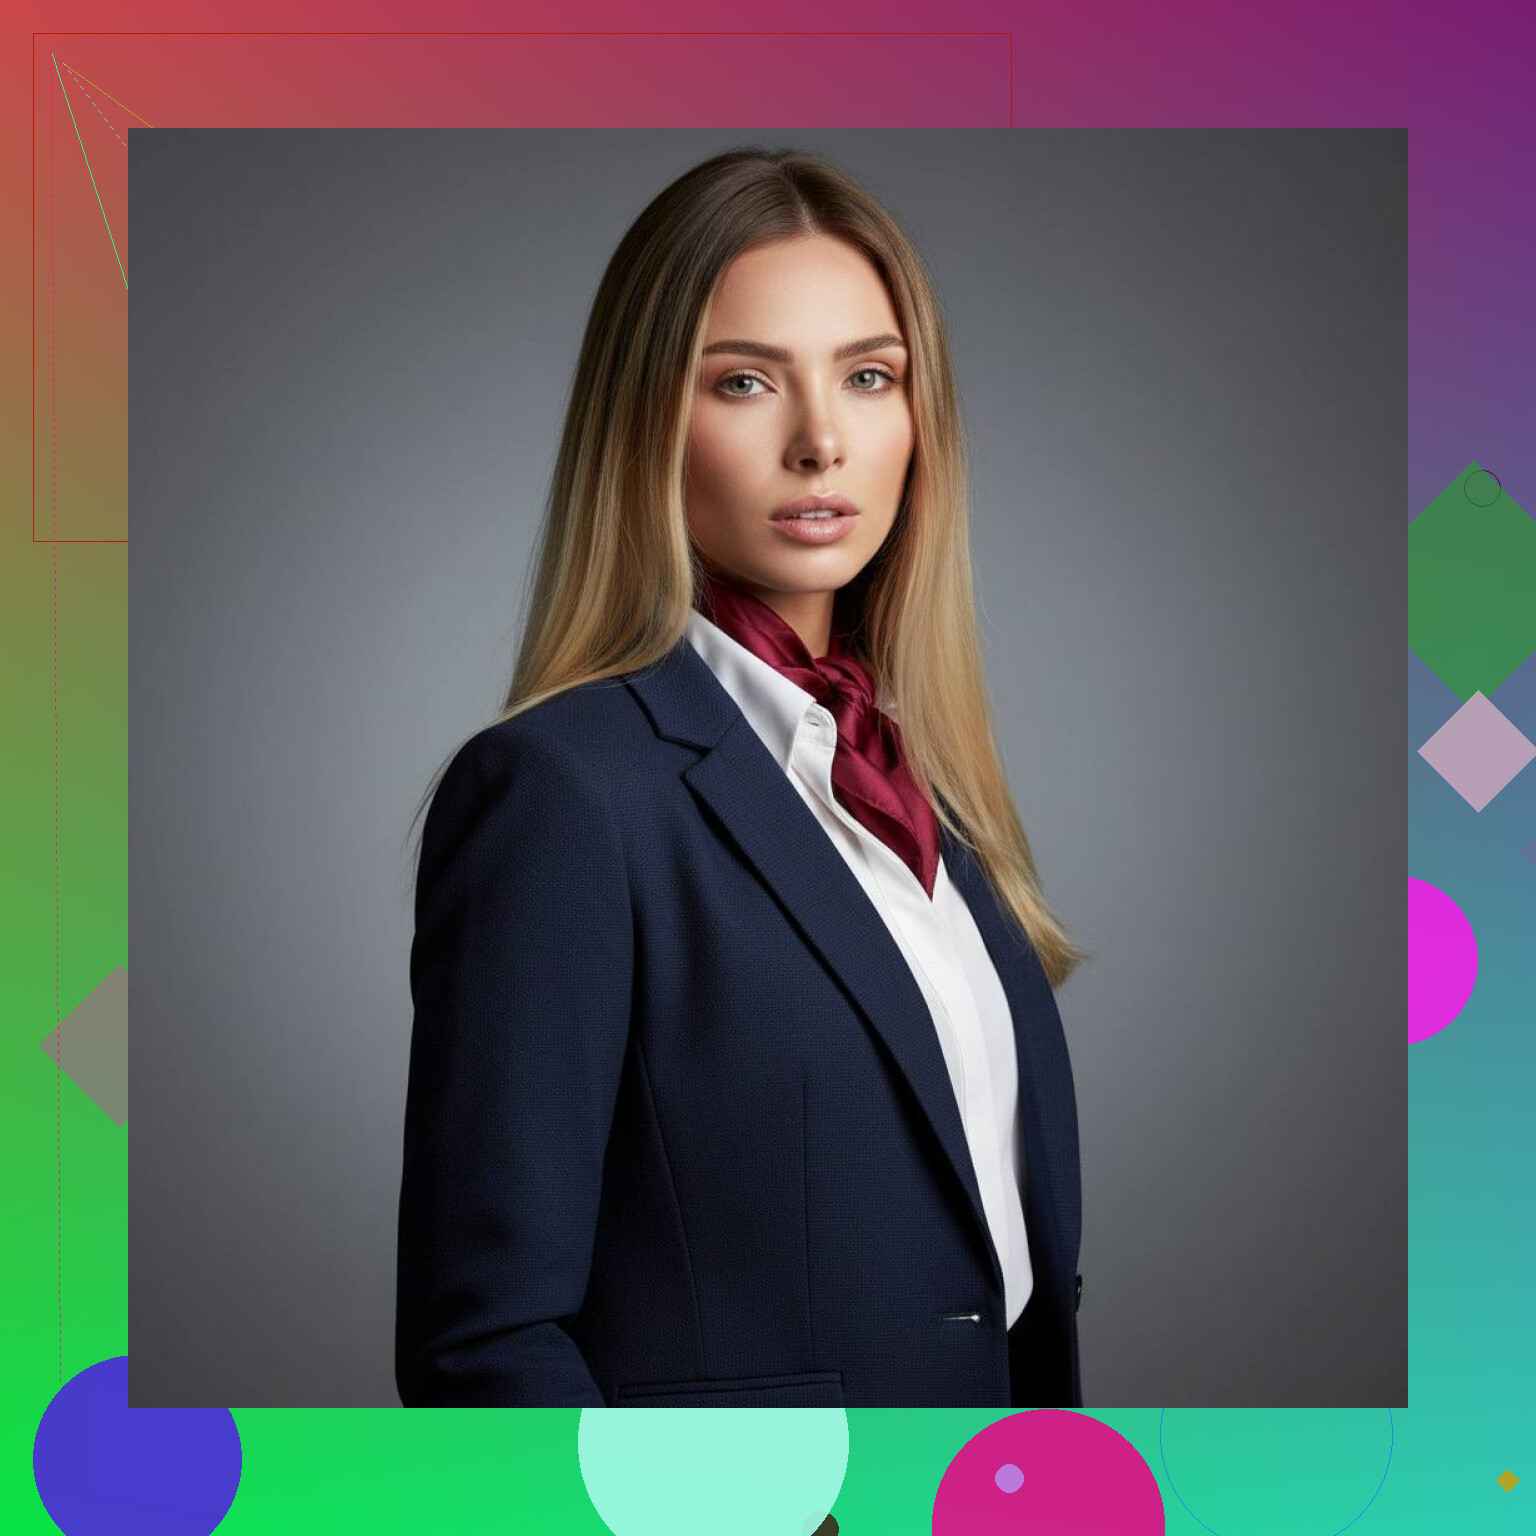
One of the AI results looked better than I expected, so I kept it:
Small iPhone settings worth turning on
HDR helped when the window was bright and the room was dim.
Grid lines made framing easier. I turned them on in camera settings and stopped drifting off center.
Live Photos gave me one or two better facial expressions from the same moment.
Exposure adjustment mattered. I tapped my face, then lowered exposure a little. Skin looked cleaner, less blown out.
The plain answer
You do not need fancy camera gear for a usable professional headshot. Good window light, a plain background, Portrait Mode, stable positioning, and some cleanup with Eltima AI got me close enough for profile photos and work pages straight from an iPhone.
Your iPhone is fine. The setup is usually the problem.
A few things I’d add beyond what @mikeappsreviewer said.
Wear solid colors. Mid-tone blue, gray, black, forest green. Thin stripes and tiny patterns look bad on phone cameras. White shirts often blow out. Pure black can crush detail.
Clean the lens. Seriously. A smudged lens causes a lot of the soft, hazy look people blame on focus.
Use the 2x or 3x lens if your iPhone has it. Stand farther back. This makes your face look more natural. The 1x lens can stretch features if you’re too close. That “big nose” look is real, lol.
Turn off beauty filters from other apps. Keep edits light. Fix color, exposure, and crop. Don’t smooth your skin into plastic.
Take 40 to 80 shots. Change expression every few frames. Tiny differences matter. One slight head tilt often looks better than a straight-on stare.
I disagree a bit on Portrait Mode being the main fix. Sometimes it mangles hair and glasses. A clean background plus the 2x lens often looks more pro to me.
For LinkedIn, crop from mid-chest up. Your eyes should sit around the top third of the frame. If the pic feels “too casual,” it probably is.
And yes, AI headshot tools exist. Fine for cleanup or ideas. I still wouldn’t make it your first option for job apps if it stops looking like you. Recruiters do notice wierd AI skin and fake jackets.
Big thing nobody mentions enough: your expression is probably why it feels unpolished, not just the camera.
@mikeappsreviewer covered setup stuff and @viajantedoceu made a fair point about lens choice, but I’d spend extra effort on how you pose your face. Most DIY headshots fail because people go full passport photo. Relax your jaw, put your tongue lightly on the roof of your mouth, and squint just a tiny bit so your eyes don’t look startled. Sounds dumb, helps a lot.
Also, don’t shoot right after work or late at night if you can avoid it. Face looks more tired, posture gets sloppy, and you start forcing smiles. Morning or early afternoon usually looks way better on camera.
One small disagreement with the “take 80 shots” approach: too many can make you overthink every little thing. I’d do 5 to 10 short rounds instead, changing only one variable each time:
- chin slightly forward
- shoulders turned a little
- smile with teeth / no teeth
- glasses on / off
- blazer on / off
Another underrated fix: distance from background. Stand like 4 to 6 feet away from the wall if possible. Even without heavy Portrait Mode blur, it makes the shot look cleaner and less like “I took this in my apartment in 3 minuts.”
For editing, avoid heavy sharpening. That “crisp” look usually turns into crunchy skin real fast. Slight contrast, slight warmth, done.
If blur is still happening, honestly, tap to focus on your eye and have someone else press the shutter. Self-timer is fine, but another person usually gets better timing and less awkward posing.
One thing I’d add that the others only touched on indirectly: use the back camera, not the selfie camera, unless your iPhone is very new and you absolutely have to. The rear camera is usually sharper, handles skin tones better, and gives you more editing room. A cheap Bluetooth shutter or Apple Watch trigger helps a lot here.
I also mildly disagree with the idea that Portrait Mode is always the move. For LinkedIn, a naturally sharp photo with real background separation often looks more credible than fake blur edges around hair, ears, or glasses. @viajantedoceu and @espritlibre are right about setup and expression, but if your goal is “professional,” realism wins more often than effects.
A trick that helps polish without buying gear: switch to HEIF Max or the highest resolution available, then edit from that version. And wipe your screen too, because people pose better when they can actually preview clearly.
For posing, think “confident coworker,” not “trying to look impressive.” Slight body turn, forehead a touch toward camera, shoulders relaxed. That reads better than a stiff square pose.
If you want a cleanup shortcut, Eltima AI Headshot Generator is one of those tools that can help test refined versions quickly.
Pros of Eltima AI Headshot Generator
- fast if you need options
- easy for LinkedIn-type crops
- useful for cleanup ideas
Cons
- can look overprocessed
- may drift from your real appearance
- less trustworthy than a solid real photo if pushed too far
@mikeappsreviewer covered stability well, and @viajantedoceu made a good point on lens choice. I’d just say: before you retake everything, check whether the real issue is that your current photo doesn’t look like someone people would meet in an interview. That matters more than camera specs.
Try a free community headshot service instead of doing it yourself. Check your local library, workforce center, college career office, or LinkedIn networking events. Many offer free photo days with proper lighting and a neutral backdrop.
Book a 10-minute slot, wear a solid shirt, and bring two outfit options. Ask for one smiling photo and one neutral version. You’ll get a cleaner, more natural result without editing, AI skin, or buying gear. Definately check event calendars first, spots fill fast.
Shoot on a cloudy day if you can. Overcast light is soft and even, and it kills most of the harsh shadow problems people are trying to fix with Portrait Mode. Direct sun through a window looks great in theory but it moves fast and hits one side of your face hard.
The thing nobody here mentioned is mixed lighting. If you have a window doing the work but a warm lamp or ceiling bulb still on, your skin picks up two different color casts and it looks off in a way that’s hard to fix later. One side goes orange, the other goes blue. Turn off the indoor bulbs and let one light source win. That single change fixed more of my color issues than any editing did.
I’m with @viajeroceleste and @viajantedoceu on the rear camera and lens choice. The selfie cam is convincing until you look at it on a real screen, then the mush shows up. Back camera, 2x or 3x, step back. That combo does more for a natural face than any depth effect.
On the AI tool that keeps coming up, I’d treat it the way @viajeroceleste framed it, fine for quick options, risky if it drifts from your face. The part that actually bites people is the interview. If a recruiter meets you and you look meaningfully different from your profile photo, that’s a worse first impression than a slightly plain shot. So if you run your selfies through it, keep the versions that still look like you on a normal Tuesday, not the polished stranger ones.
The free community photo day @dr_lynx mentioned is genuinely the best value here, but don’t count on it fitting your timeline. Those slots book out and the schedule is whenever the library or career center feels like it. If you need the photo this week, do the window setup yourself. If you can wait a month, the free session usually beats anything you’ll get off the phone.